How to Deploy a New OS Image
Concept
When a virtual machine is created, some actions need to be done within the guest like resizing of the filesystem, creation of users,... To accomplish this, cloud-init is used. For most Linux distributions OS cloud images with cloud-init preinstalled are readily available for download. The rest of this page assumes you have such an OS image with cloud-init available. There is a guide on how to create a windows base image with cloudinit.
Clone the repository of your environment
From a well prepared computer, as documented here, your first step will be to clone the repository of your environment from GitHub:
git clone git@github.com:gig-projects/$name-of-your-env-repository$
Create a new image directory and the AYS service recipe for your new image
For each service you want to add to your environment you need to create a new subdirectory under $name-of-your-env-repository$/servicetemplates, so also for adding a new image you need to create a subdirectory there:
cd $name-of-your-env-repository$/servicetemplates
Let's create an subdirectory for the image available from https://cloud-images.ubuntu.com/xenial/current/xenial-server-cloudimg-amd64-uefi1.img:
mkdir image_xenial-server
Each directory contains 3 files:
services.hrd contains the all required information about ftp server that holds your image
- url: address of your FTP server from where the image is available, e.g.
ftp://pub:pub1234@ftp.aydo.com - source: exact location on the FTP server from where the image can be downloaded, e.g.
/images/image_windows2012 - checkmd5: whether the MD5 checksum needs to be checked, typically 'true'
- dest: directory where the image needs to be downloaded, e.g.
/opt/jumpscale7/var/tmp/templates/image_windows2012.qcow2
- url: address of your FTP server from where the image is available, e.g.
actions.py defines the configure method that will be called to register the image once it got downloaded successfully
- name sets the image name, e.g. 'image_windows2012'
- imagename sets the disk image name as physically saved, e.g. 'image_windows2012.qcow2'
- registerImage(serviceObj, name, imagename, category, minimum-image-size) the actual registration method, where you have two additional parameters:
- category specifies under which category the image will be available to the end user, typically 'Linux' or 'Windows'
- minimum-image-size sets the minimum image size, in case of a windows image you have to set it to at least 20, otherwise 10 is fine for linux images
instance.hrd (leave it empty)
We actually only need to create 2 files, representing the AYS service recipe for this image:
- service.hrd
- actions.py
Starting with service.hrd:
vi service.hrd
Provide following service description:
platform.supported             = 'generic'

web.export.1                   =
    checkmd5:'false',
    dest:'/opt/jumpscale7/var/tmp/templates/xenial-server-cloudimg-amd64-uefi1.qcow2',
    source:'/xenial/current/xenial-server-cloudimg-amd64-uefi1.img',
    url:'https://cloud-images.ubuntu.com',
Save and close the new file by first pressing esc, typing :wq and hitting enter.
And now let's create the actions.py file:
vi actions.py
We only need to implement the configure() method:
from JumpScale import j

ActionsBase=j.atyourservice.getActionsBaseClass()

class Actions(ActionsBase):
    def configure(self, serviceObj):
        from CloudscalerLibcloud.imageutil import registerImage
        name = 'Xenial Server 16.04 amd64'
        imagename = 'xenial-server-cloudimg-amd64-uefi1.qcow2'
        registerImage(serviceObj, name, imagename, 'Linux', 10)
Save, commit and push your changes to the repo
Commit and push the newly created subdirectory and files to GitHub:
cd $name-of-your-env-repository$
git config --global push.default simple
git add servicetemplates/image_xenial-server
git commit -m "new image"
git push
Install the image
Connect to ovc_git as documented here.
Update the repository:
cd /opt/code/github/gig-projects/$name-of-your-env-repository$
git pull
Make the updated servicetemplates directory current:
cd /opt/code/github/gig-projects/$name-of-your-env-repository$/servicetemplates
And finally install the image, make sure to specify the name of one/any of the physical nodes (last option argument):
ays install -n image_xenial-server --targettype node.ssh --targetname $name-of-a-node-in-your-env$
In case you're updating an already previously installed image, use the -r option:
ays install -r -n image_xenial-server --targettype node.ssh --targetname $name-of-a-node-in-your-env$
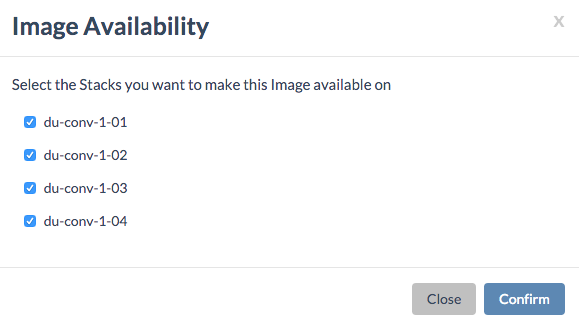
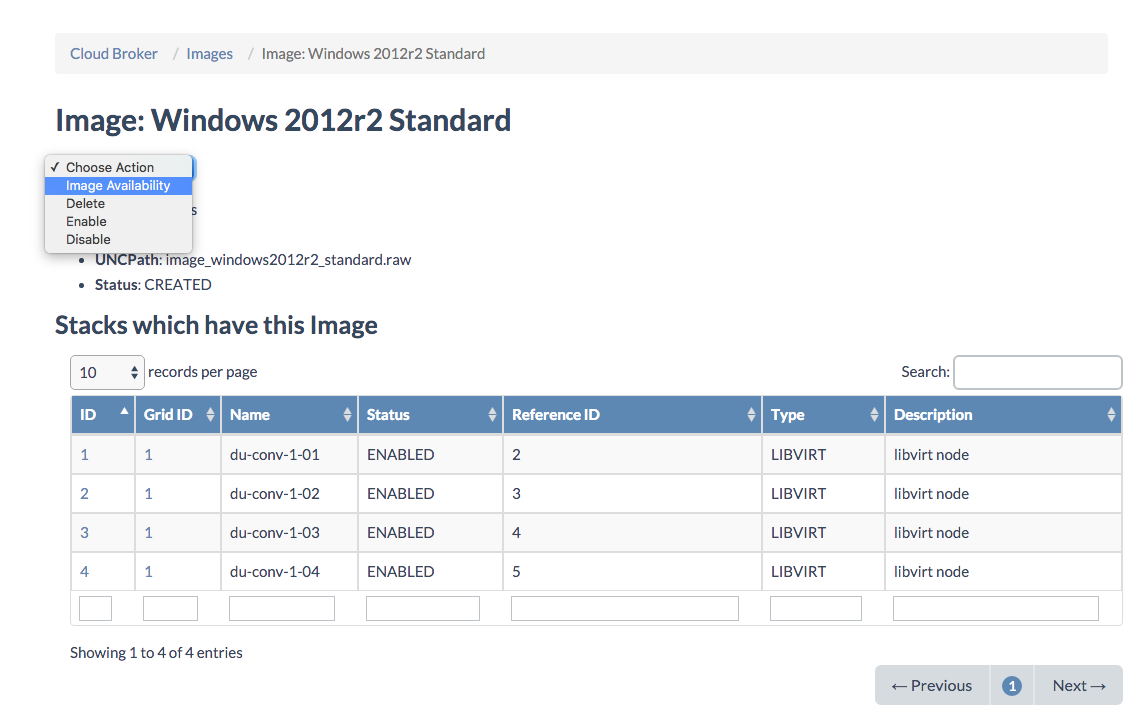
Set image availability
In the Cloud Broker Portal go to the Image Details page for your newly added image and select Image Availability from the Actions menu:
Confirm on which nodes you want to make this image available: