Getting Started with Blueprints
This example will guide you through all the steps required to deploy a blueprint using the Cockpit Portal. The goal of this exercise will be to create a new virtual datacenter (VDC) on a G8 node.
This will happen in 7 steps:
- Step 1: Create a new AYS repository
- Step 2: Create a blueprint for deploying a virtual datacenter
- Step 3: Load the blueprint in the Cockpit memory
- Step 4: Execute the blueprint, which will create the required service instances
- Step 5: Make sure the service instances are created, and ready to install (step 6)
- Step 6: Simulate the installation of the service instances as created from the blueprint
- Step 7: Install the service instances as created by executing the blueprint (step 3)
Step 1: Create a new AYS repository
Before you can execute a blueprint you need an existing or new AYS repository. This repository will contain your blueprints and the service instances of the executed blueprints.
To create a new repository click Repositories in the left navigation menu:
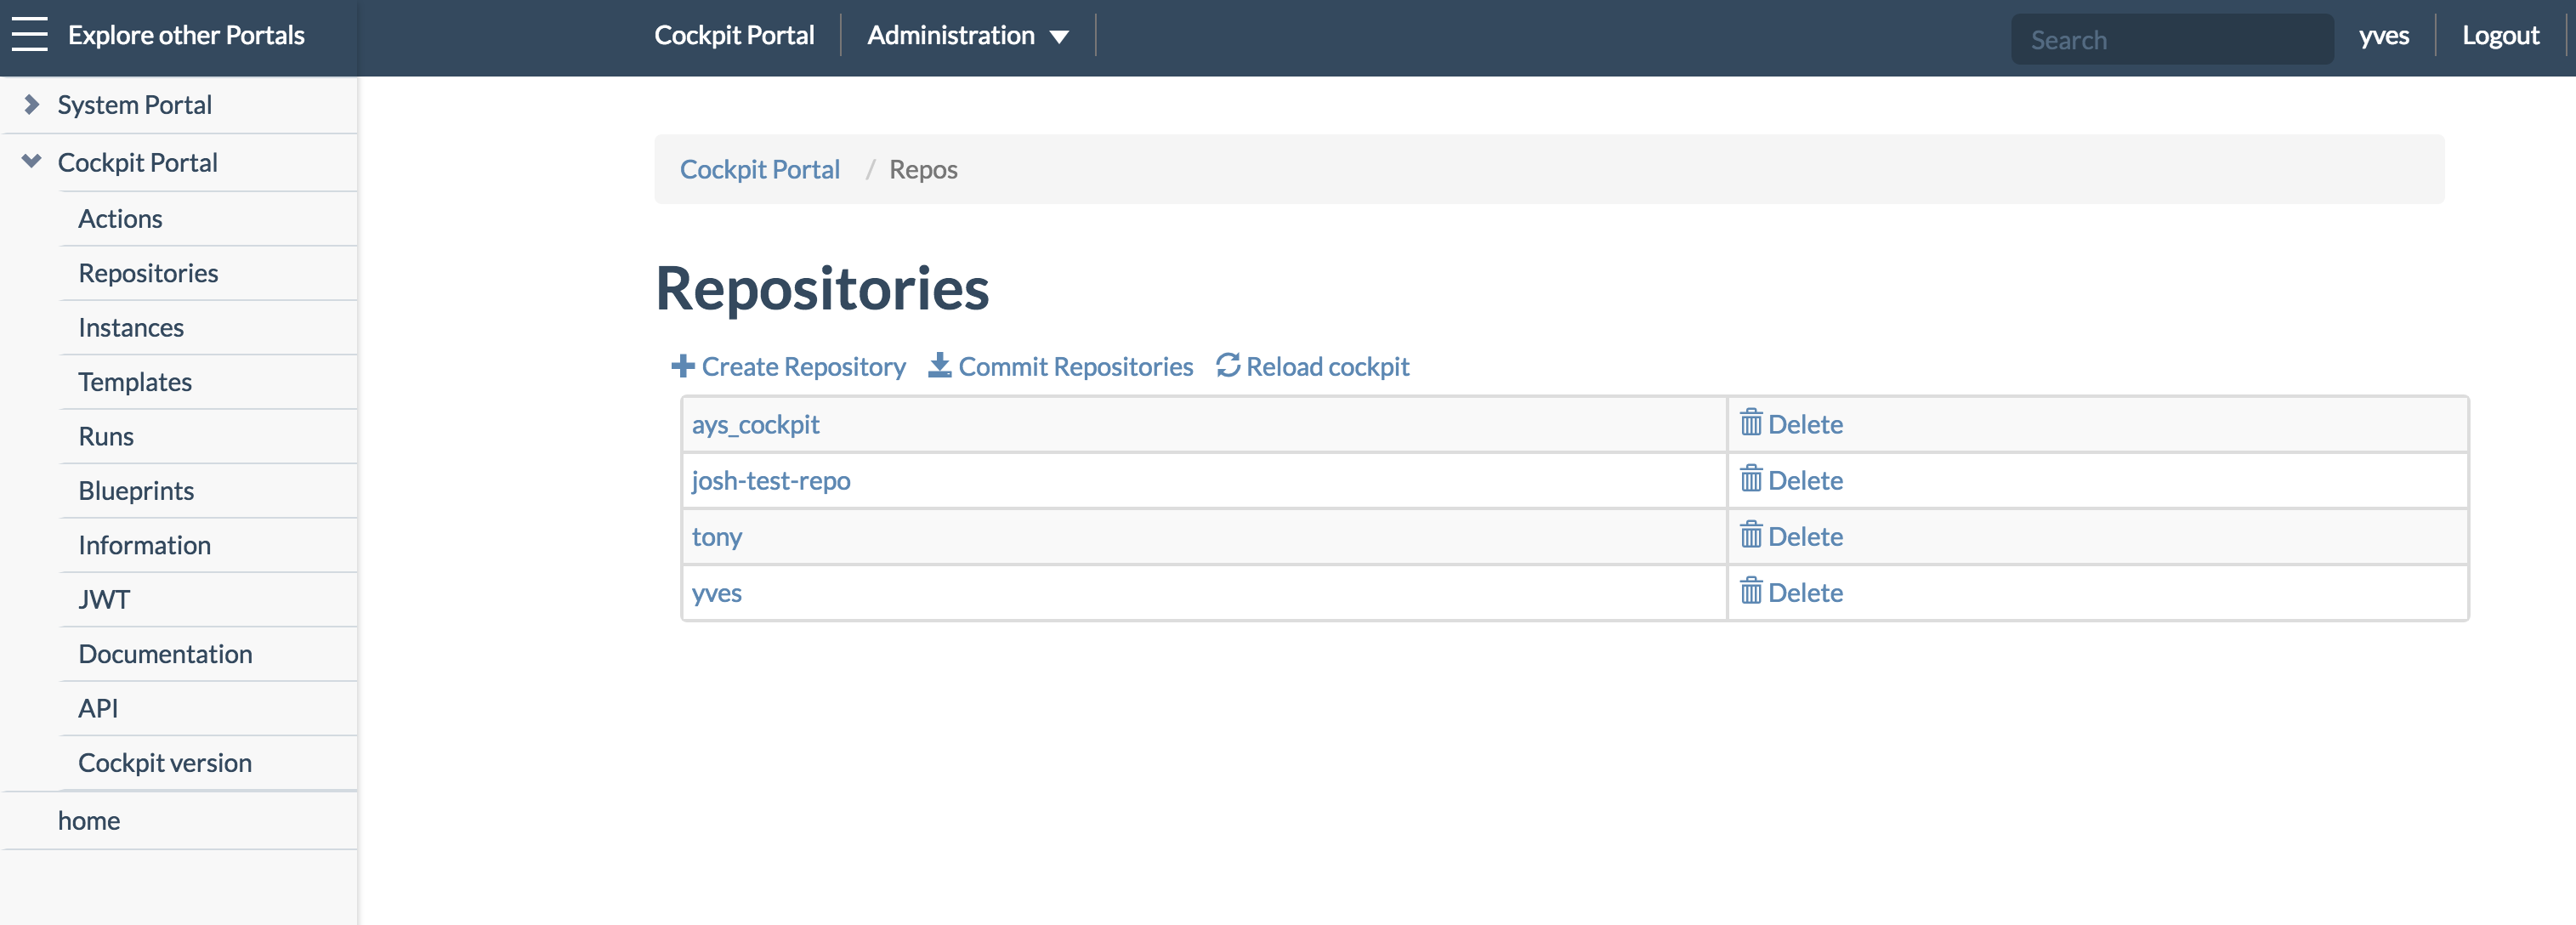
This page displays all your repositories.
Here click the + Create Repository link.
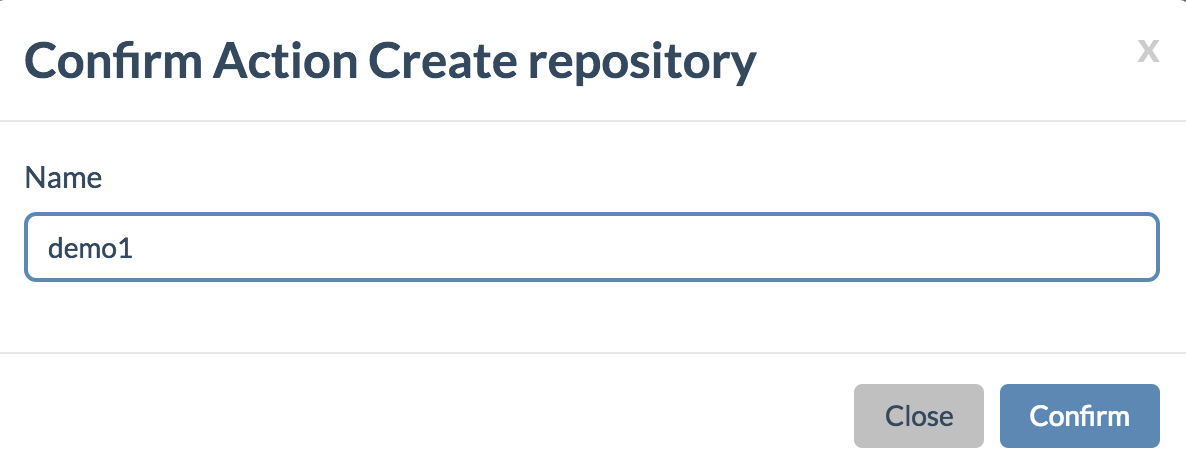
In the popup that appears, provide a name for your new repository and click Confirm:
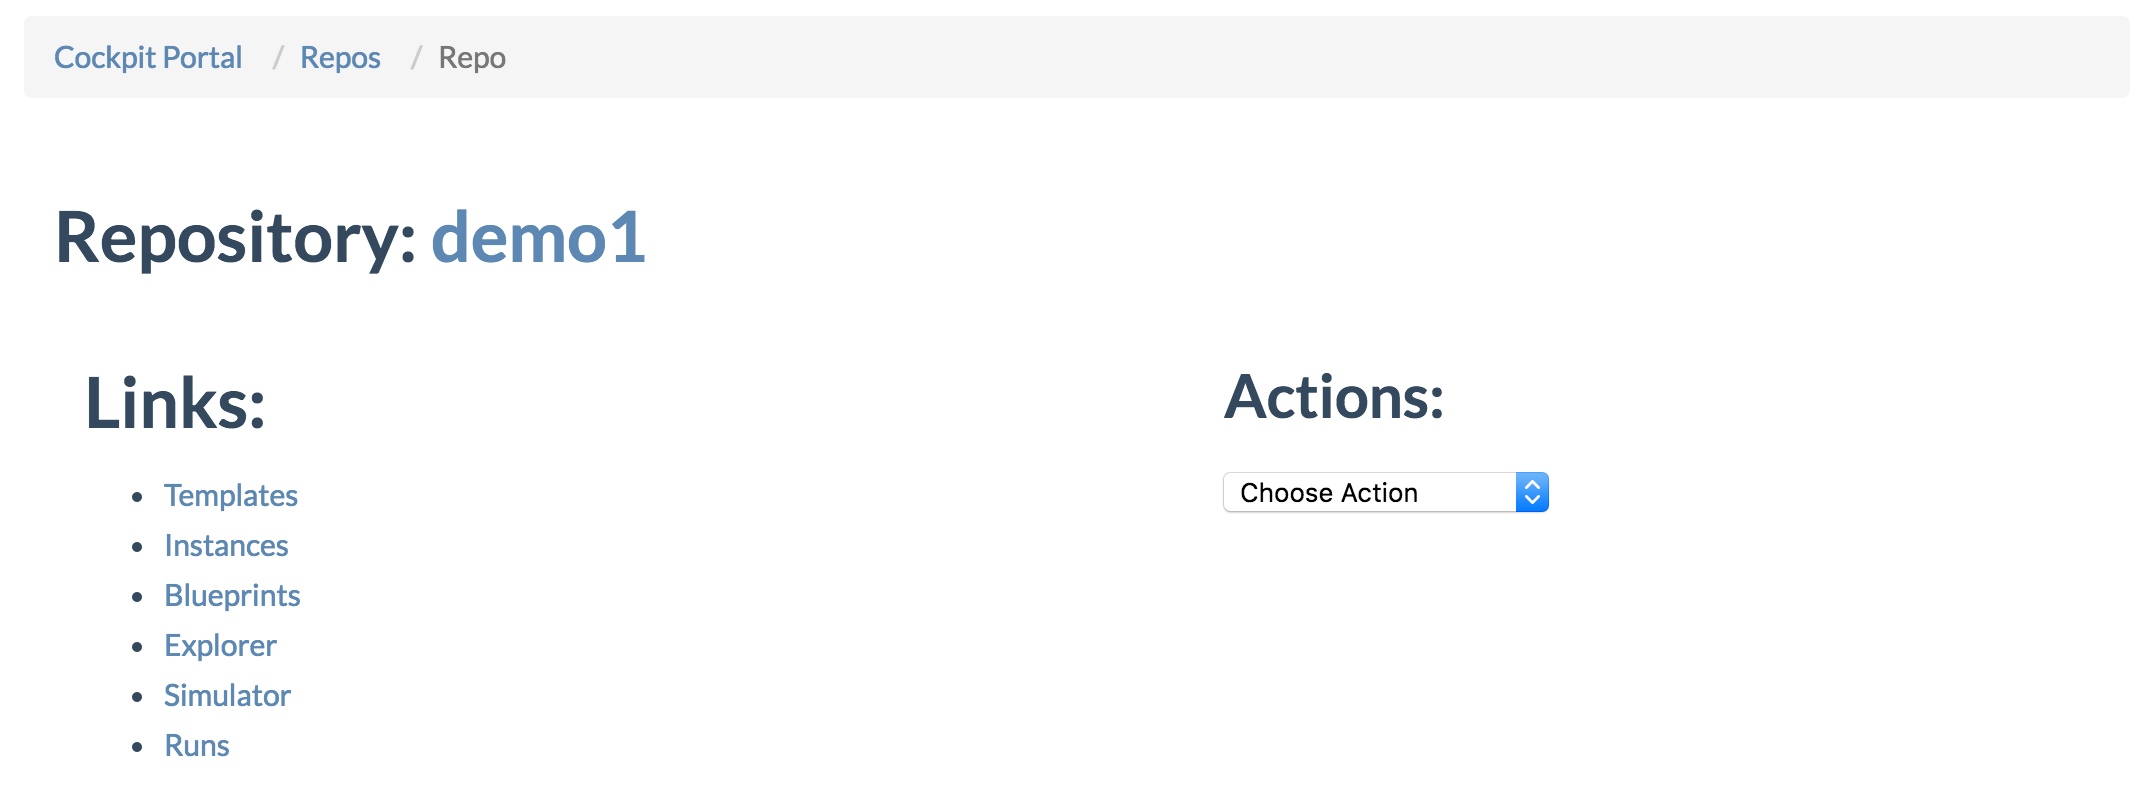
You can now see your new repository in the list of repositories. Click your newly created repository:
Step 2: Create the blueprint
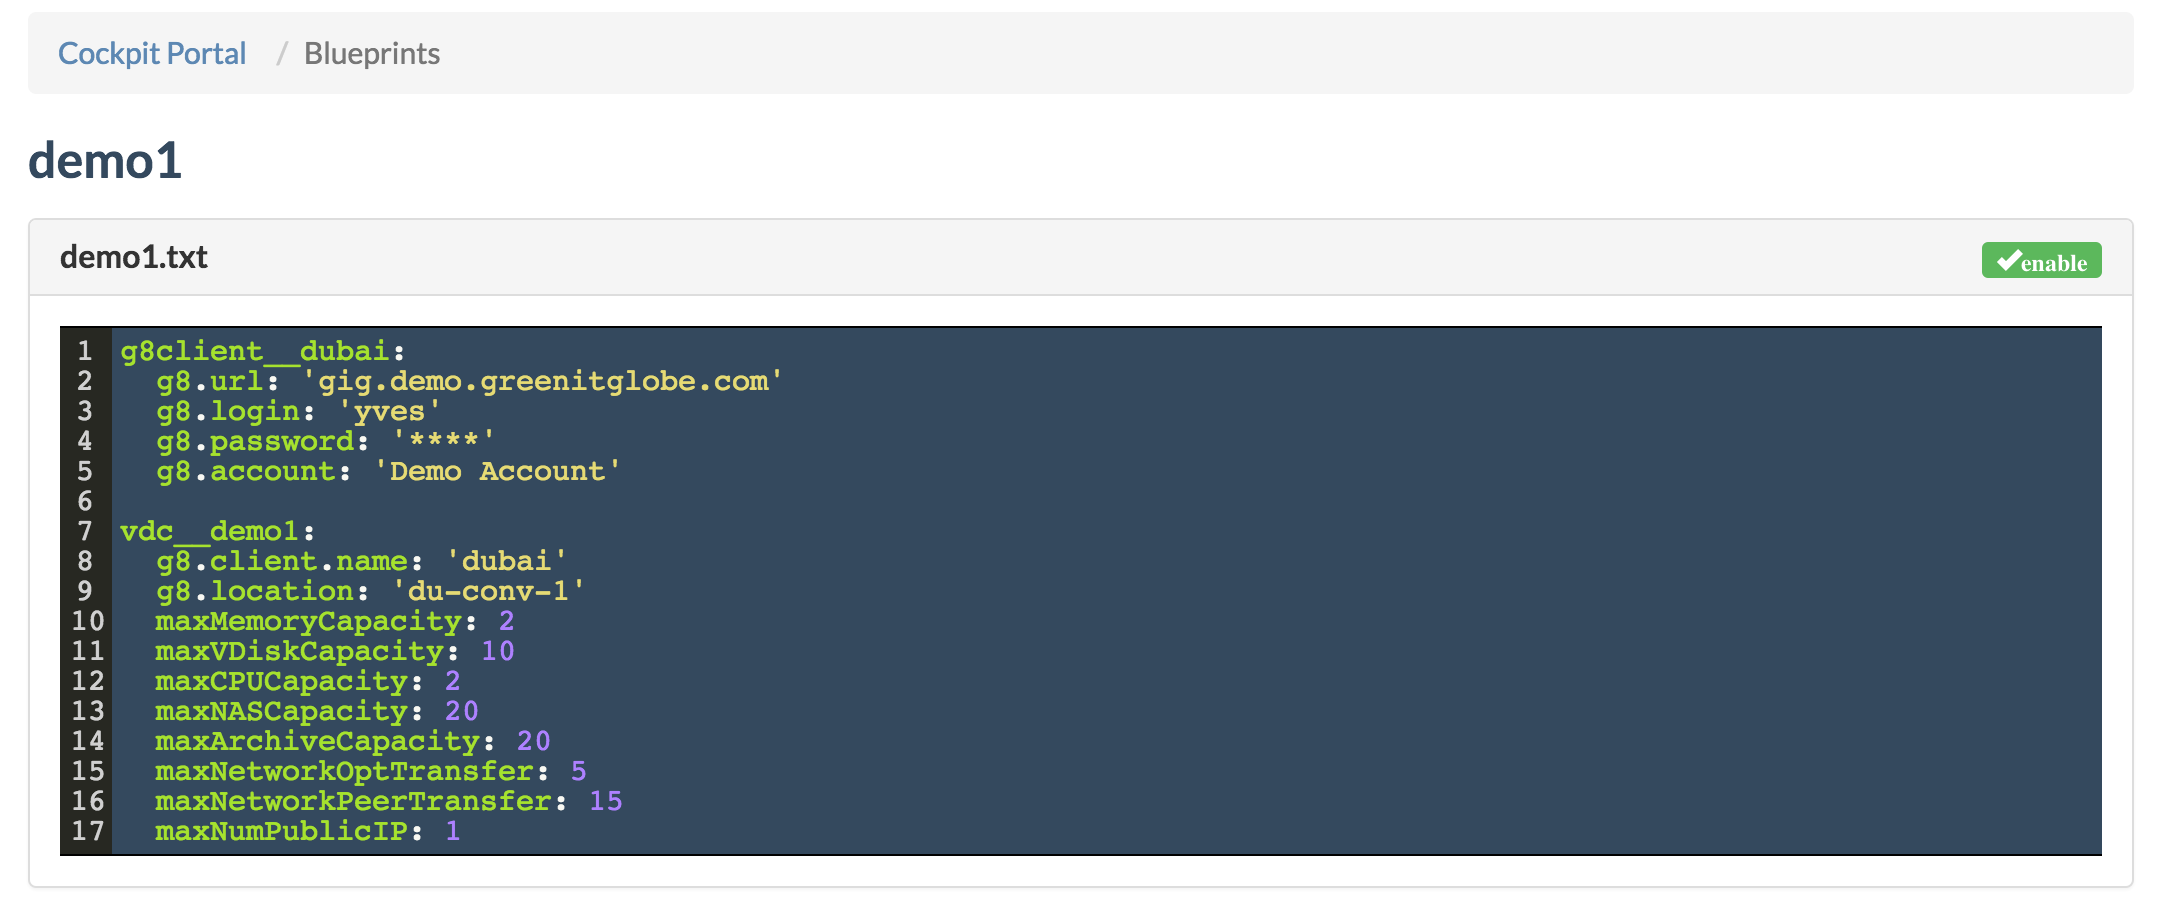
Now that you have your repository ready, the next step is to create the blueprint for creating your virtual datacenter (VDC). Here is the blueprint we are going to use:
g8client__dubai:
  g8.url: 'gig.demo.greenitglobe.com'
  g8.login: 'yves'
  g8.password: '****'
  g8.account: 'Demo Account'

vdc__demo1:
  g8.client.name: 'dubai'
  g8.location: 'du-conv-1'
  maxMemoryCapacity: 2
  maxVDiskCapacity: 10
  maxCPUCapacity: 2
  maxNASCapacity: 20
  maxArchiveCapacity: 20
  maxNetworkOptTransfer: 5
  maxNetworkPeerTransfer: 15
  maxNumPublicIP: 1
To create this new blueprint click the Explorer link on the Repository Details page. This will open the Explorer page where you then navigate to the directory of your new repository:

- Double click the blueprint folder
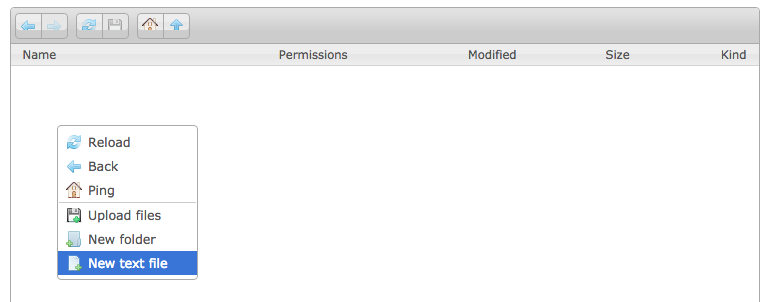
Right click and select New text file from the context menu:
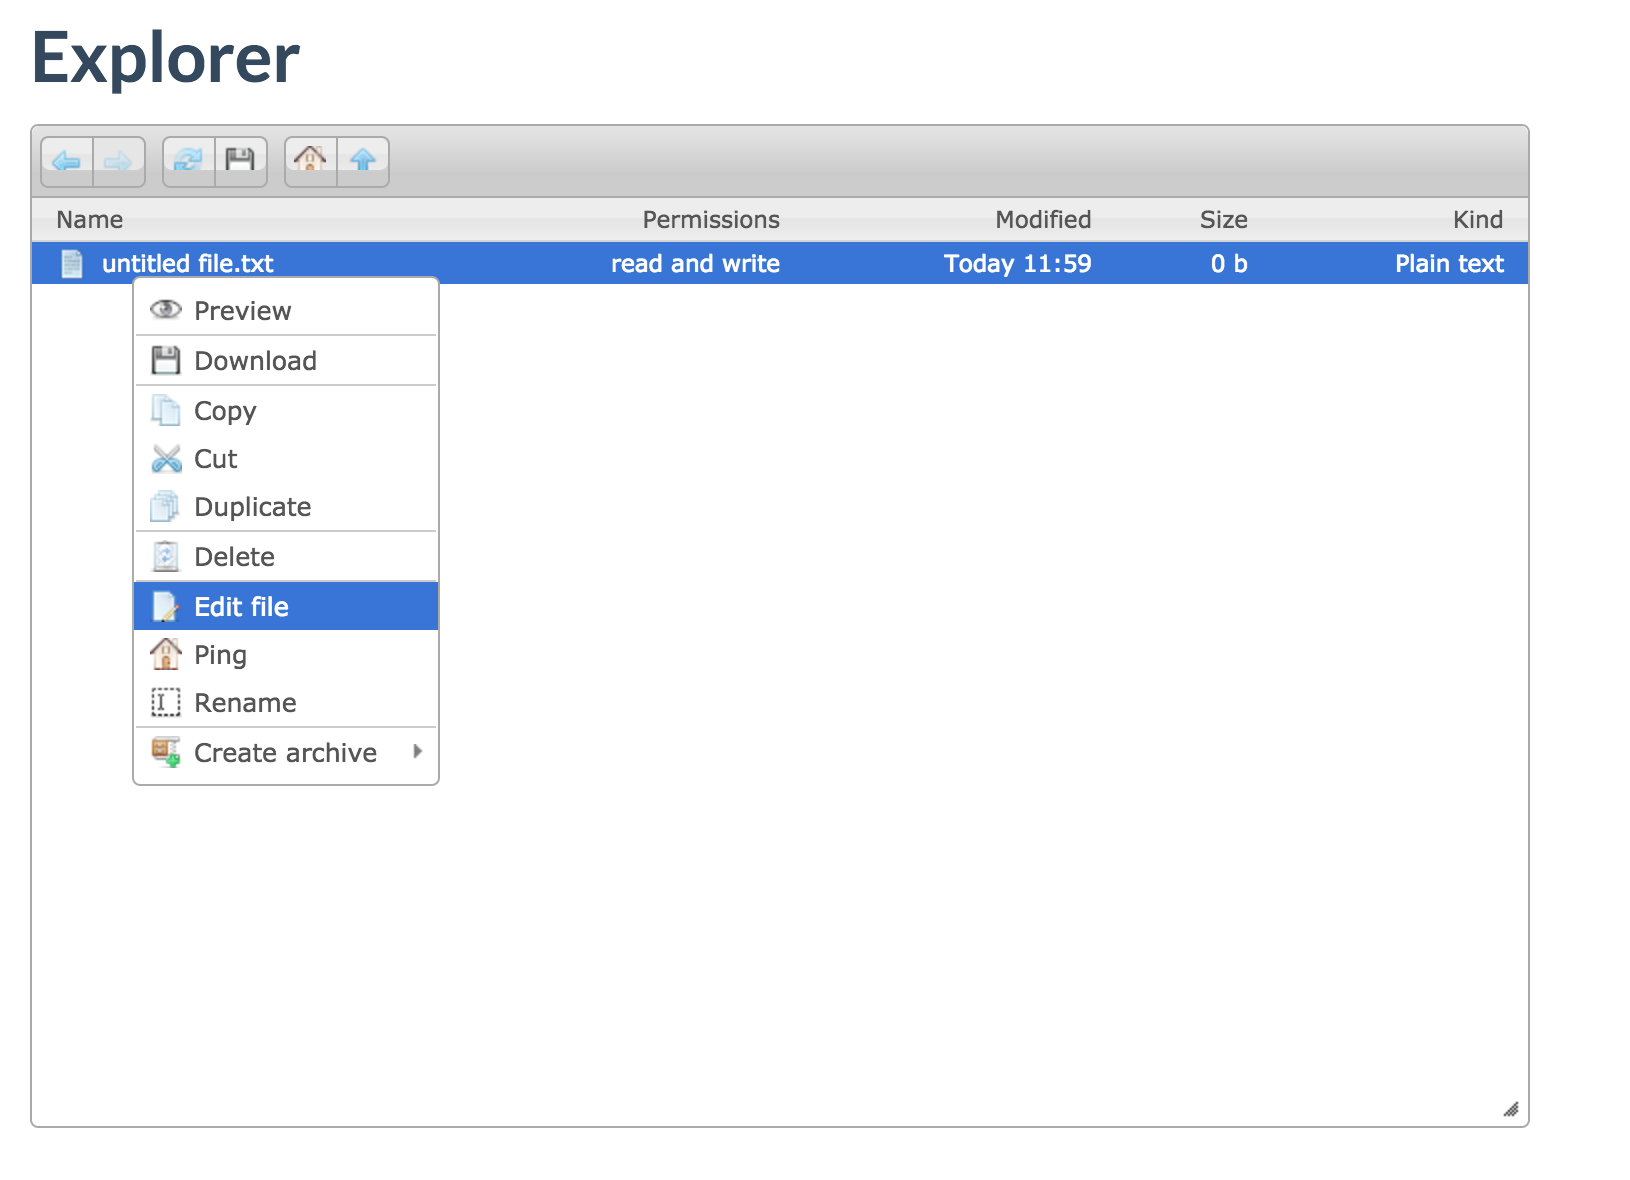
Right click on the newly created file, select Edit file from the context menu:
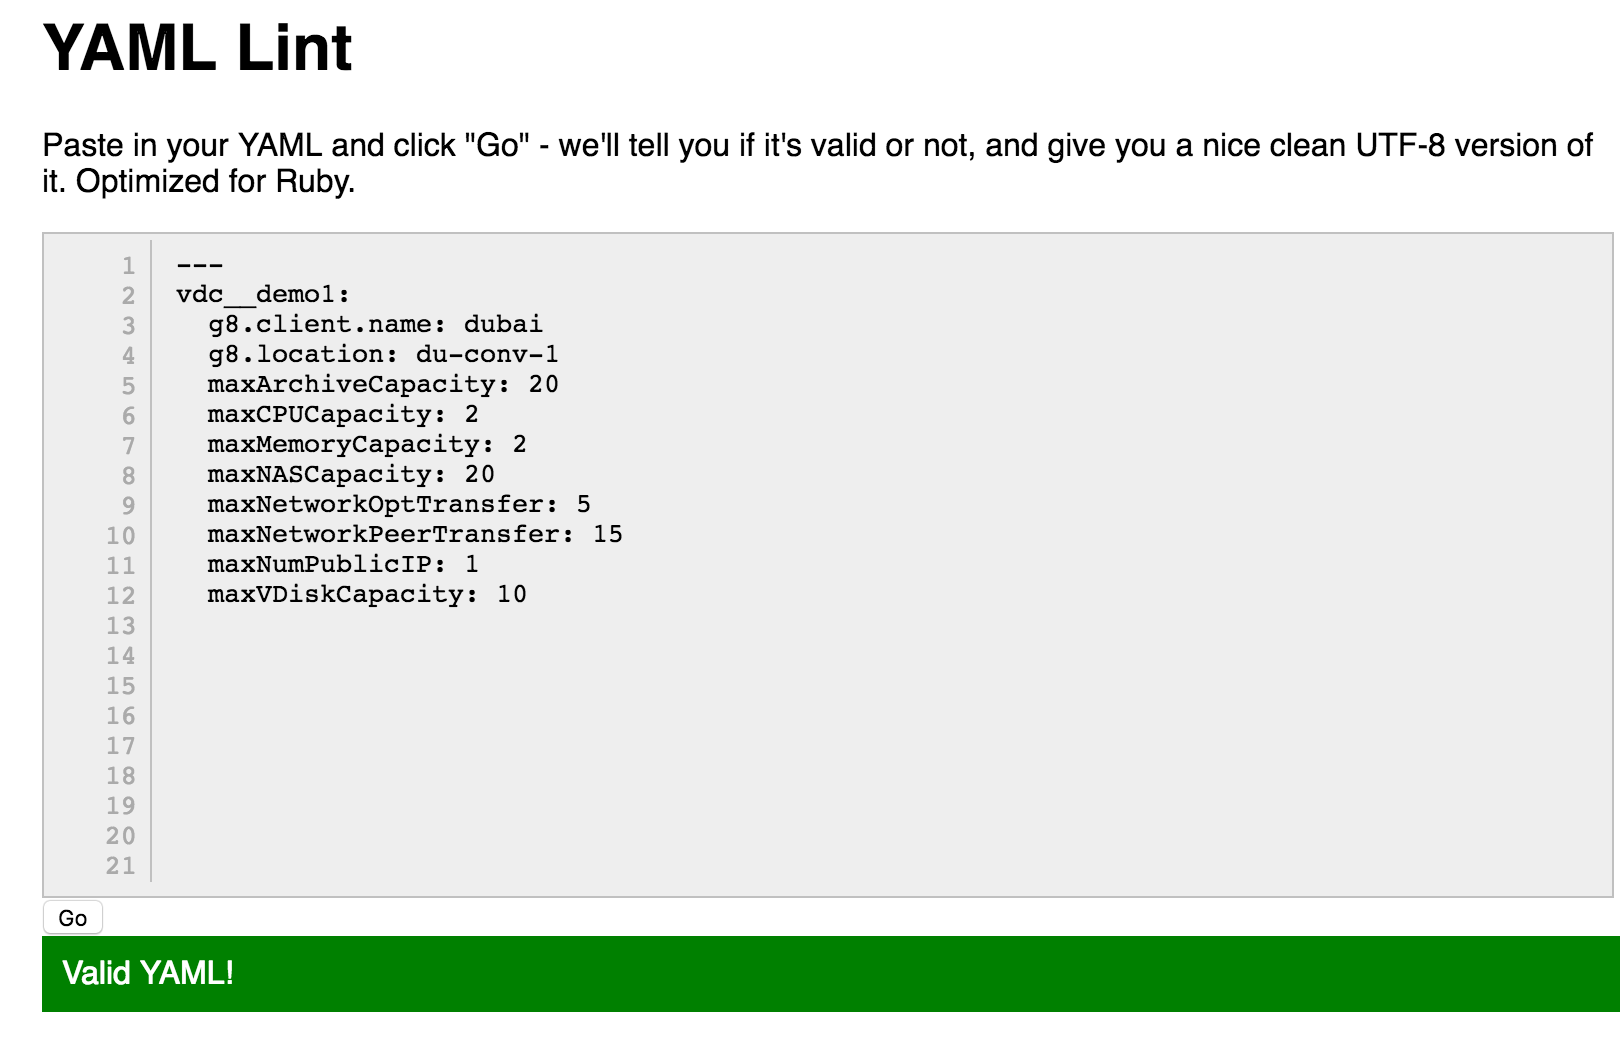
Before copy/pasting your blueprint you might want to check the YAML validity, for instance by using http://www.yamllint.com:
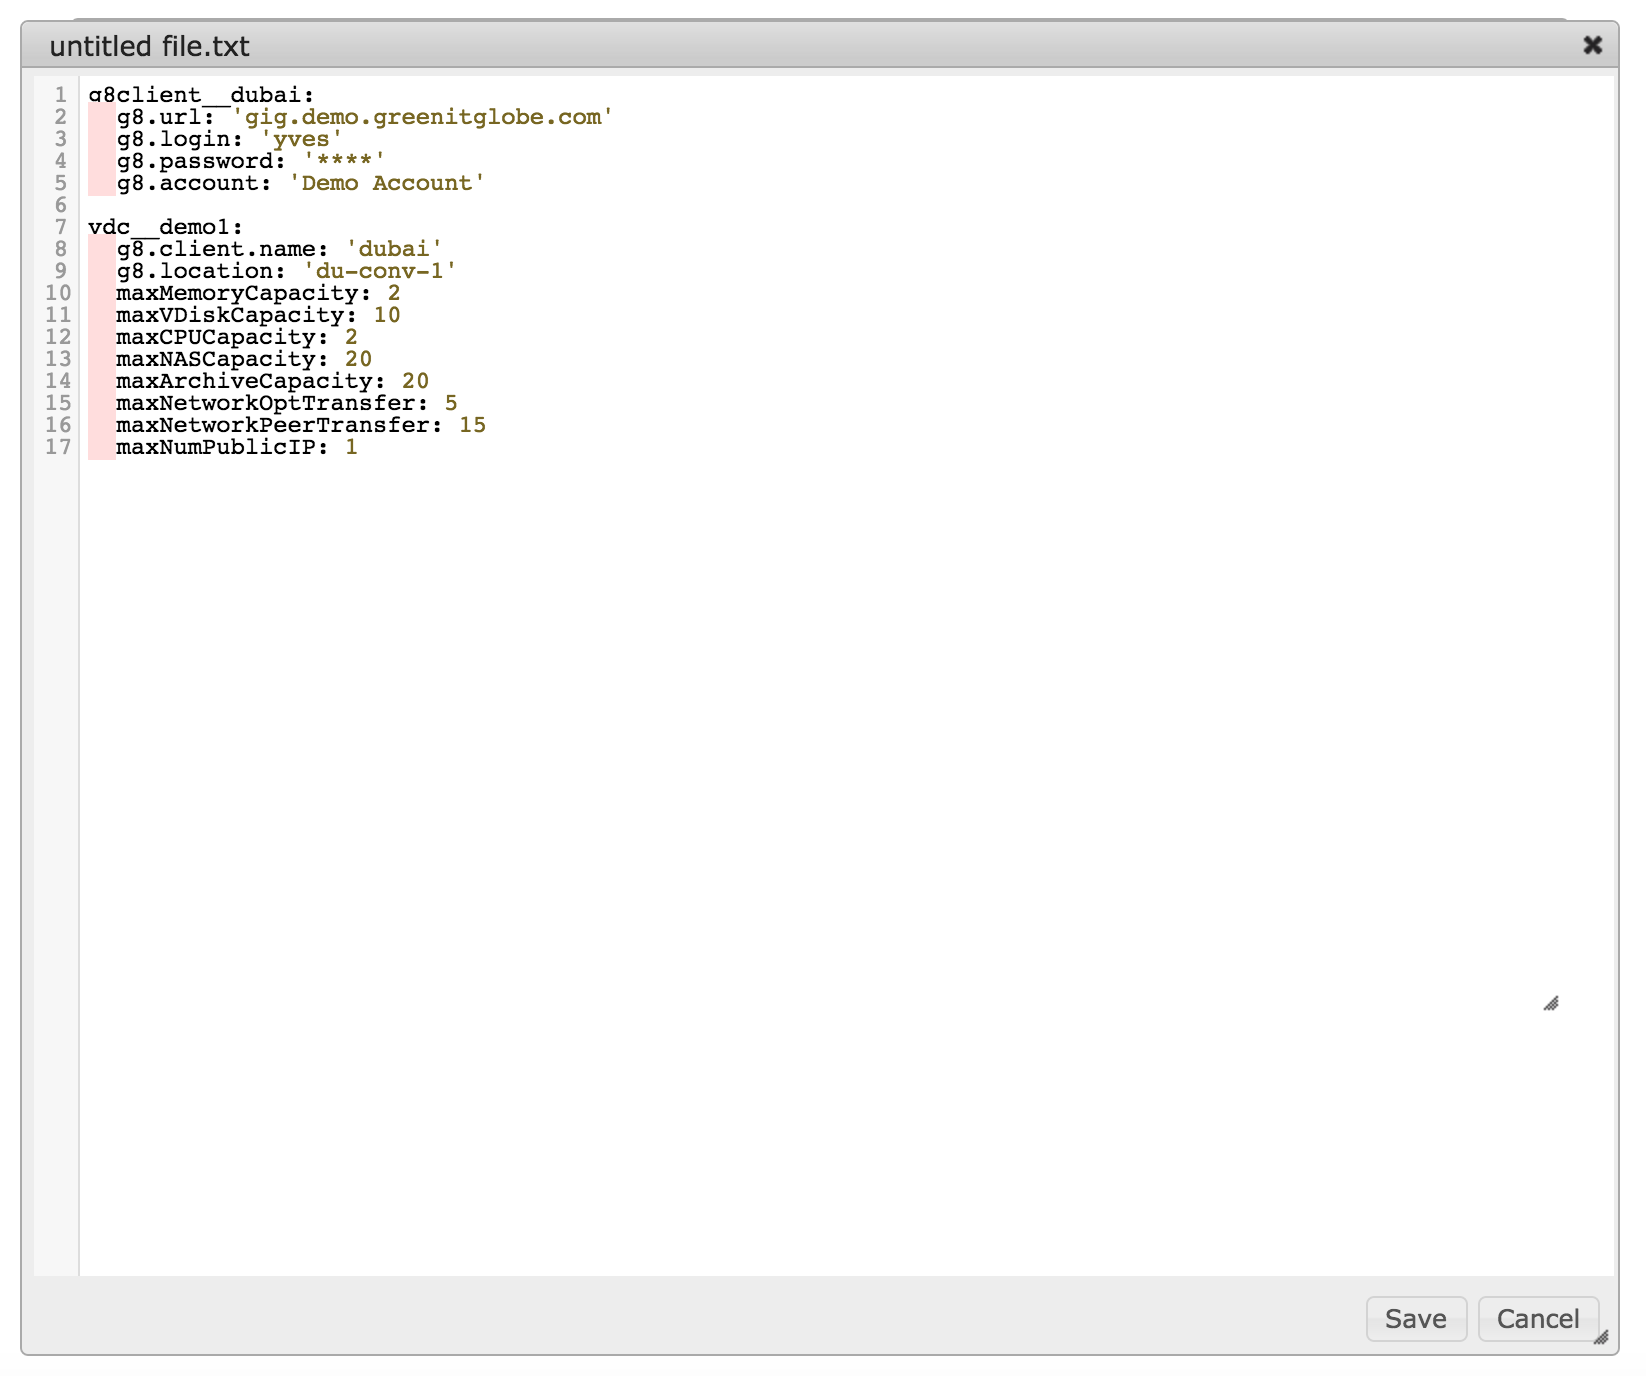
An editor opens, paste the content of the blueprint, then save:
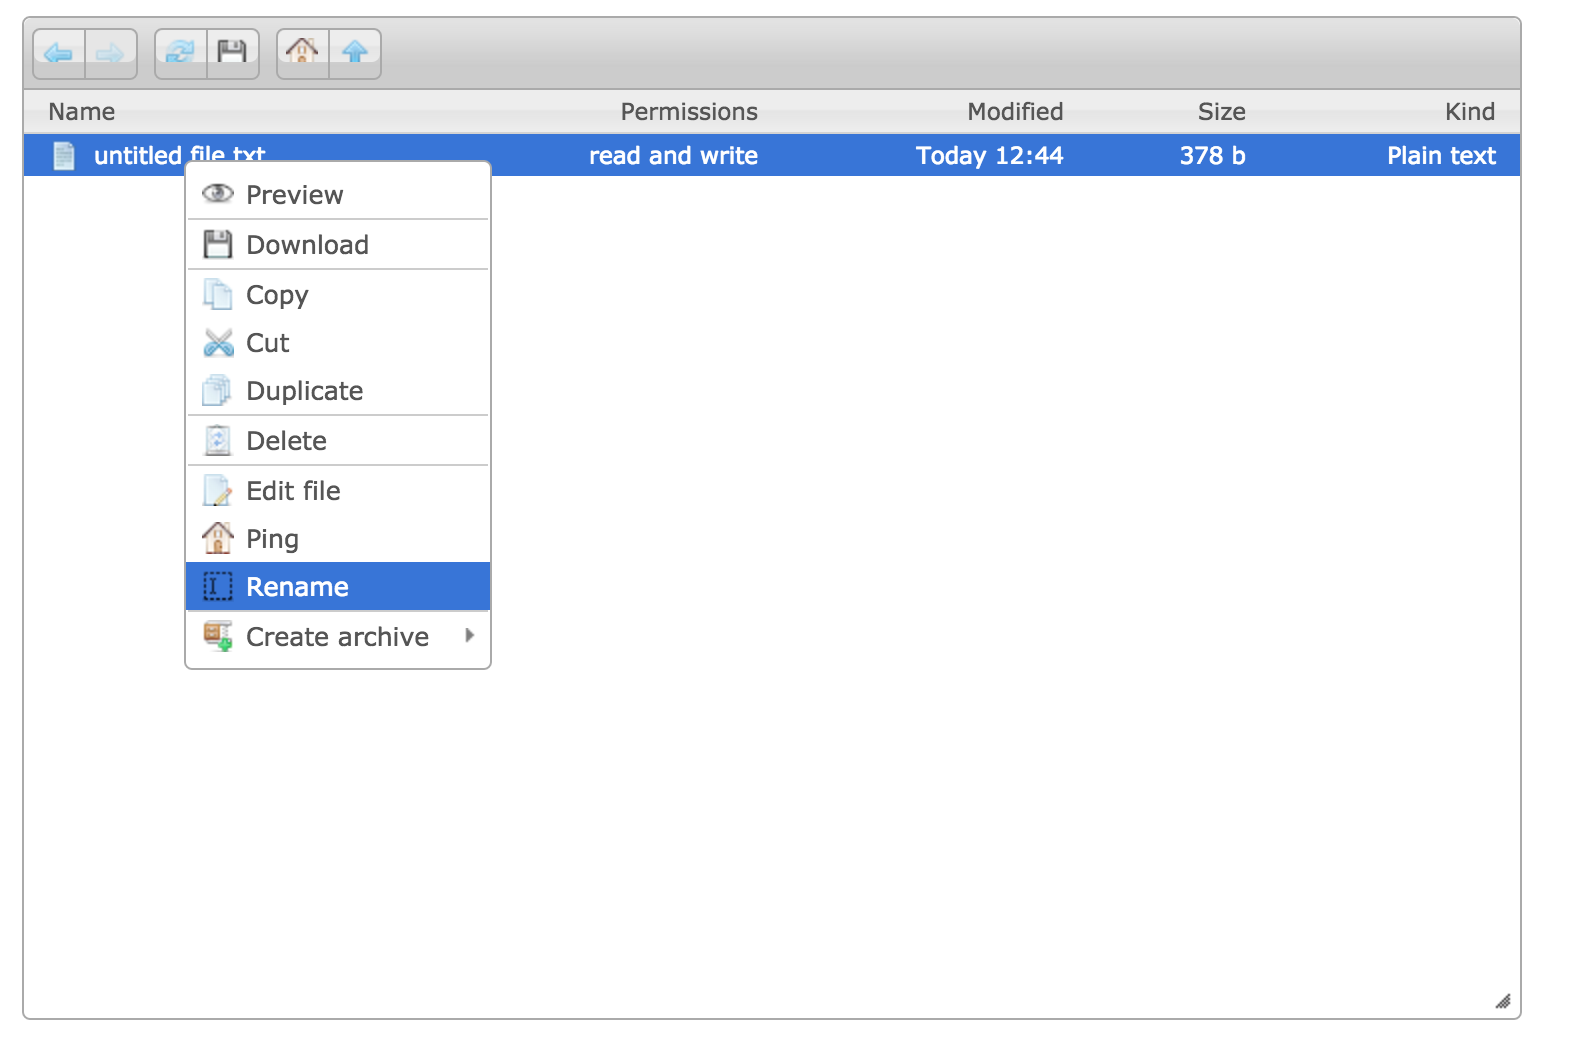
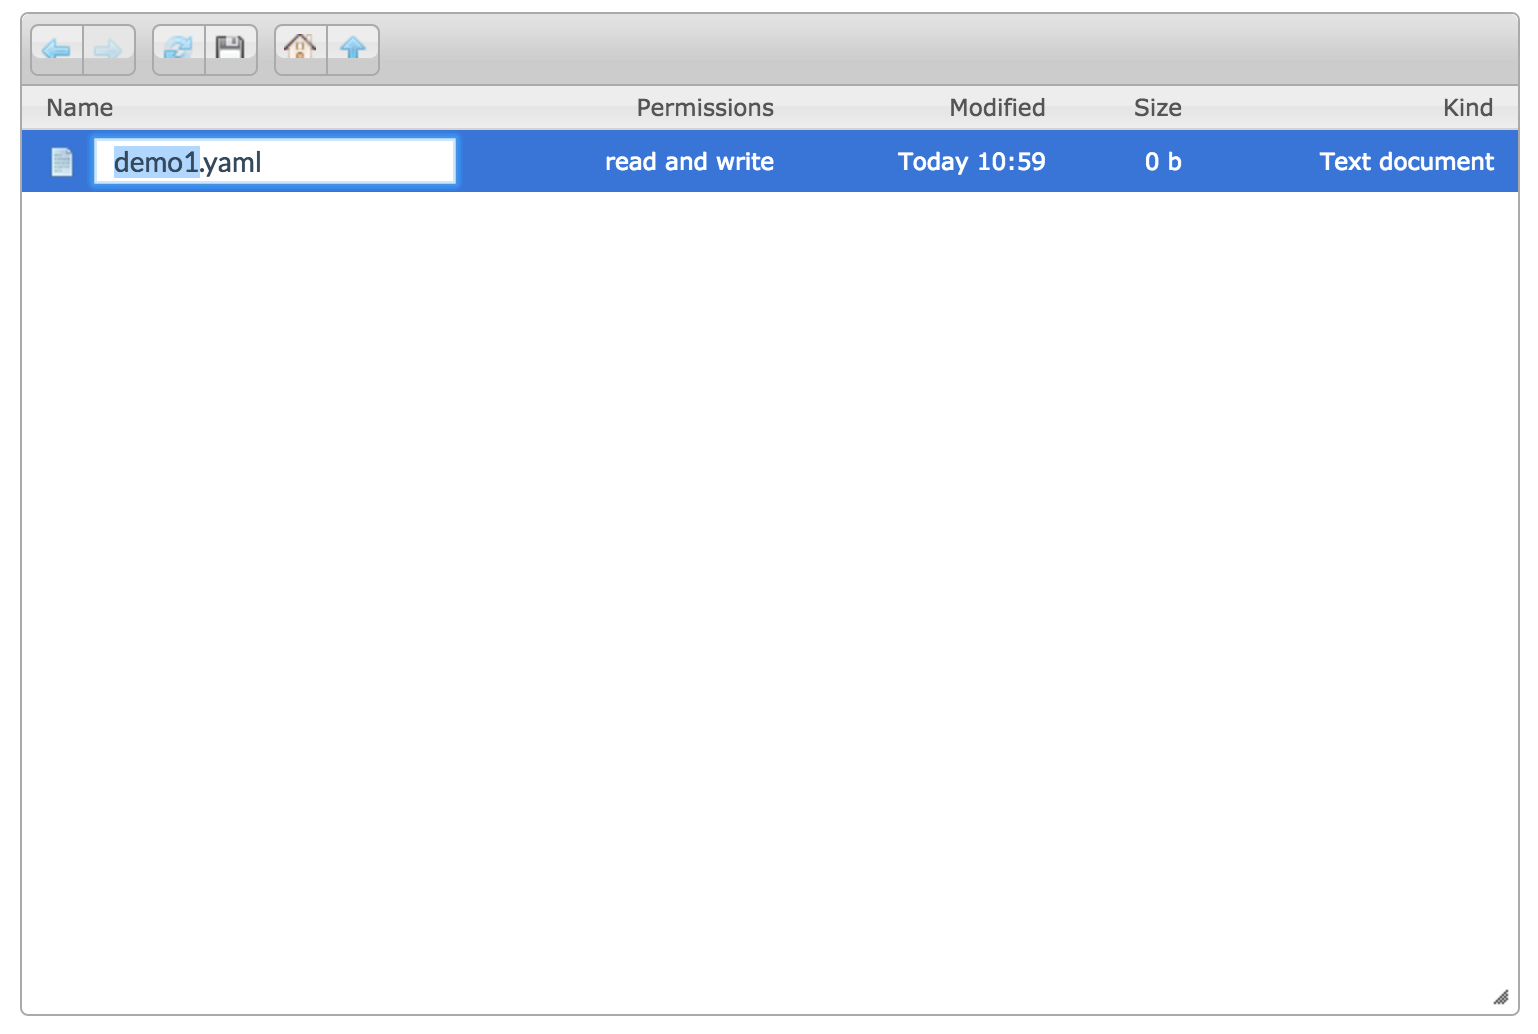
Rename the new blueprint to anything you choose, no specific extension is required:
Step 3: Load the blueprint in memory of the Cockpit
The Cockpit keeps all blueprints and service instances in memory once started. When creating a new blueprint using the Explorer however, the Cockpit is not aware yet of your new blueprint.
In order to make the Cockpit aware of your new blueprint, you need to execute of the Reload Cockpit action on the Repository Details page. It basically empties the memory of the Cockpit and reloads everything:
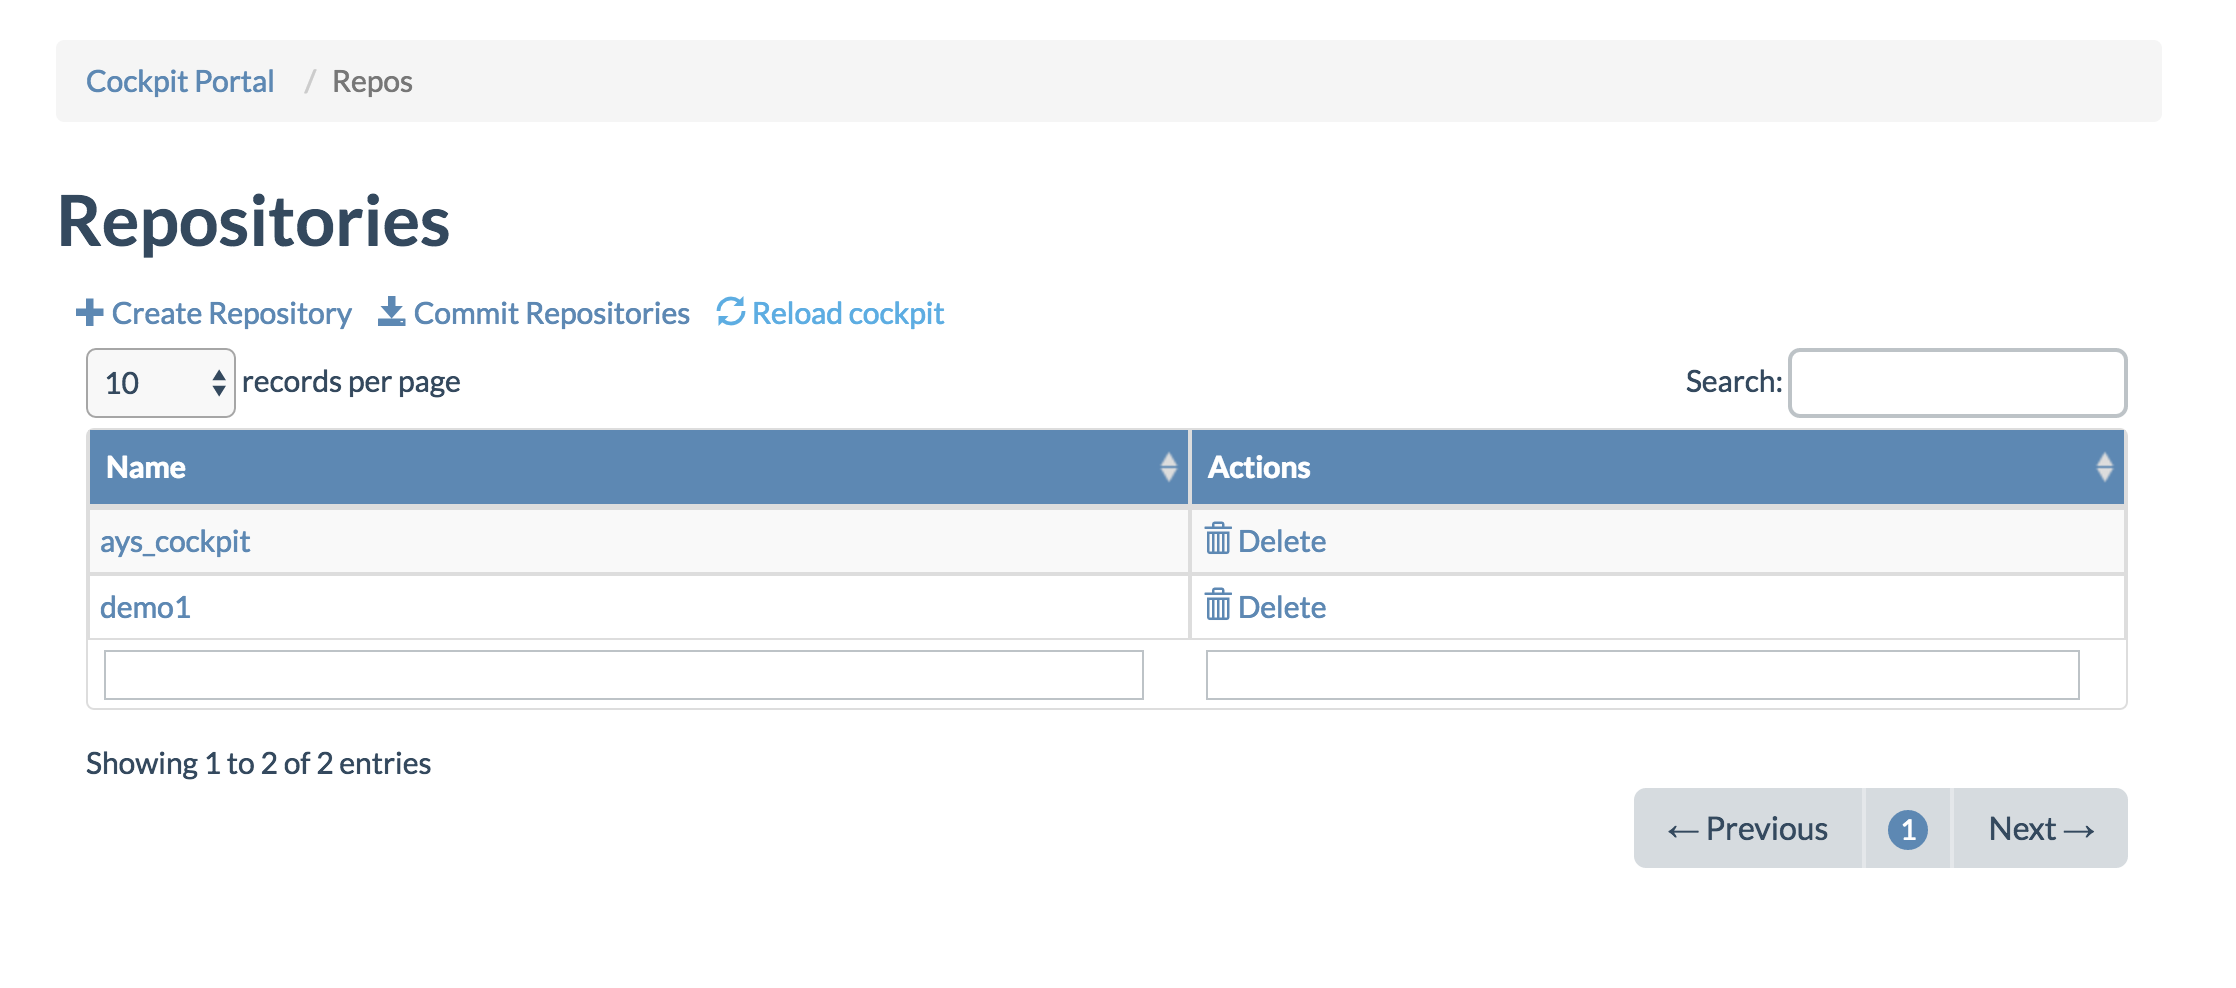


You can verify that the blueprint got loaded by clicking Blueprints which will bring you to the Blueprints page, click it an you'll see the content:
Step 4: Execute the blueprint
Now that your new blueprint is loaded in the memory of the Cockpit, it is ready to get executed. This step will create (not install) all the necessary service instances required by the blueprint. The actual installation of these service instances happens in step 7.
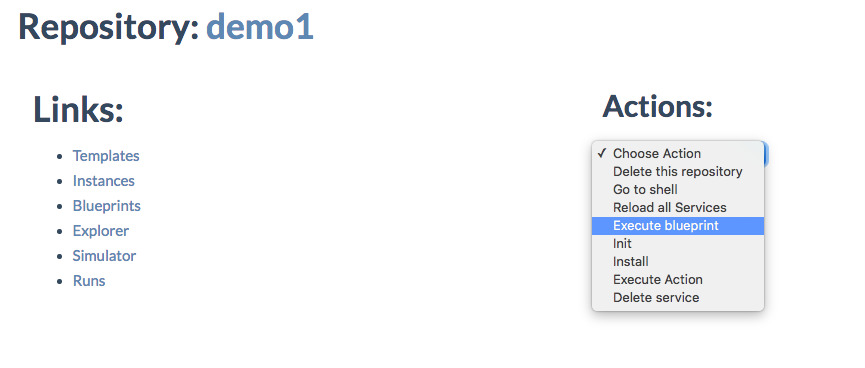
On the Repository Details page of your newly created repository select Execute Blueprint from the drop-down list:
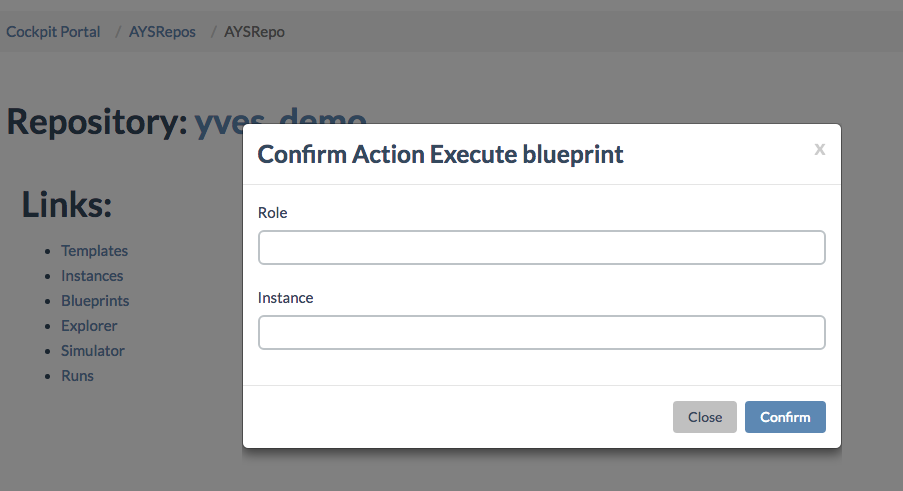
In the popup that appears leave the form empty and click Confirm:
A message will tell you that your blueprint is executed:

As a result you will see that services instances specified in the blueprint are now visible on the Instances page of your repository:
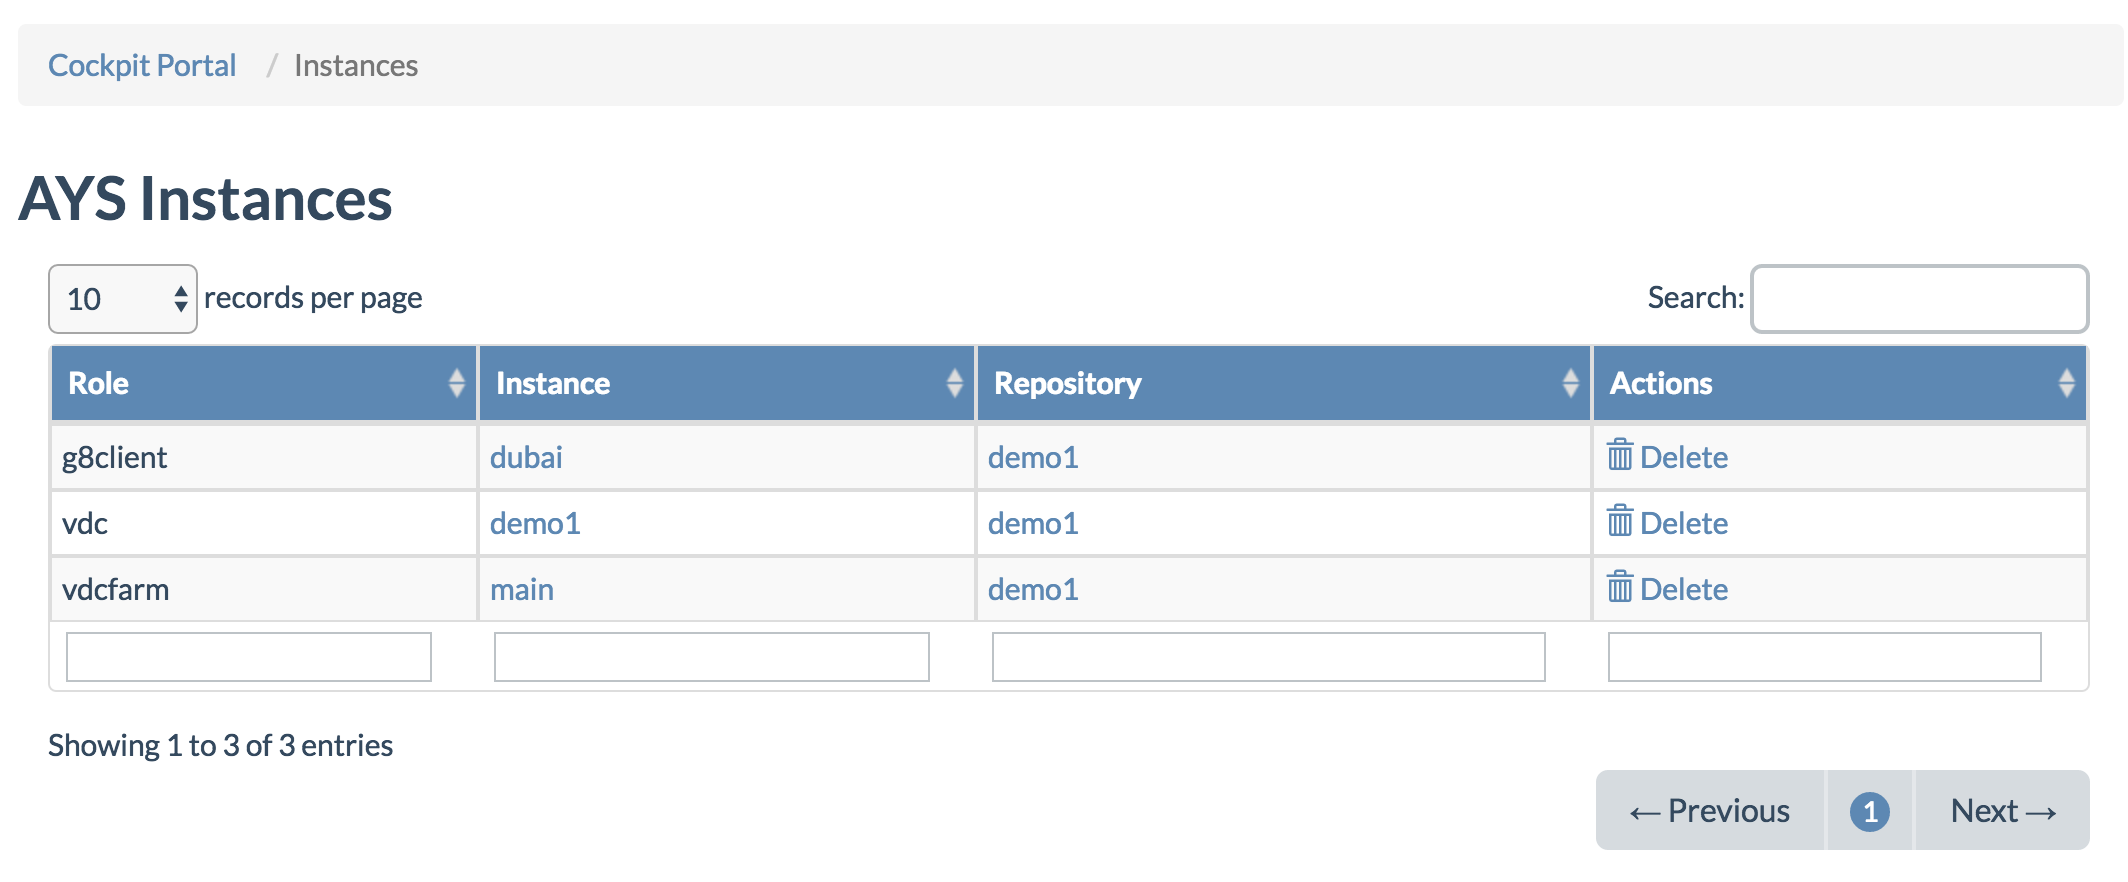
Next to the g8client and vdc service instances, also a service instance of vdcfarm was created, though not explicitly specified in the blueprint. A vdcfarm service instance is used for grouping vdc service instances. If you do not create one explicitly a default one will be created for you, and will always be named main.
Clicking any of the service instances will op the Instance Details page for that instance:
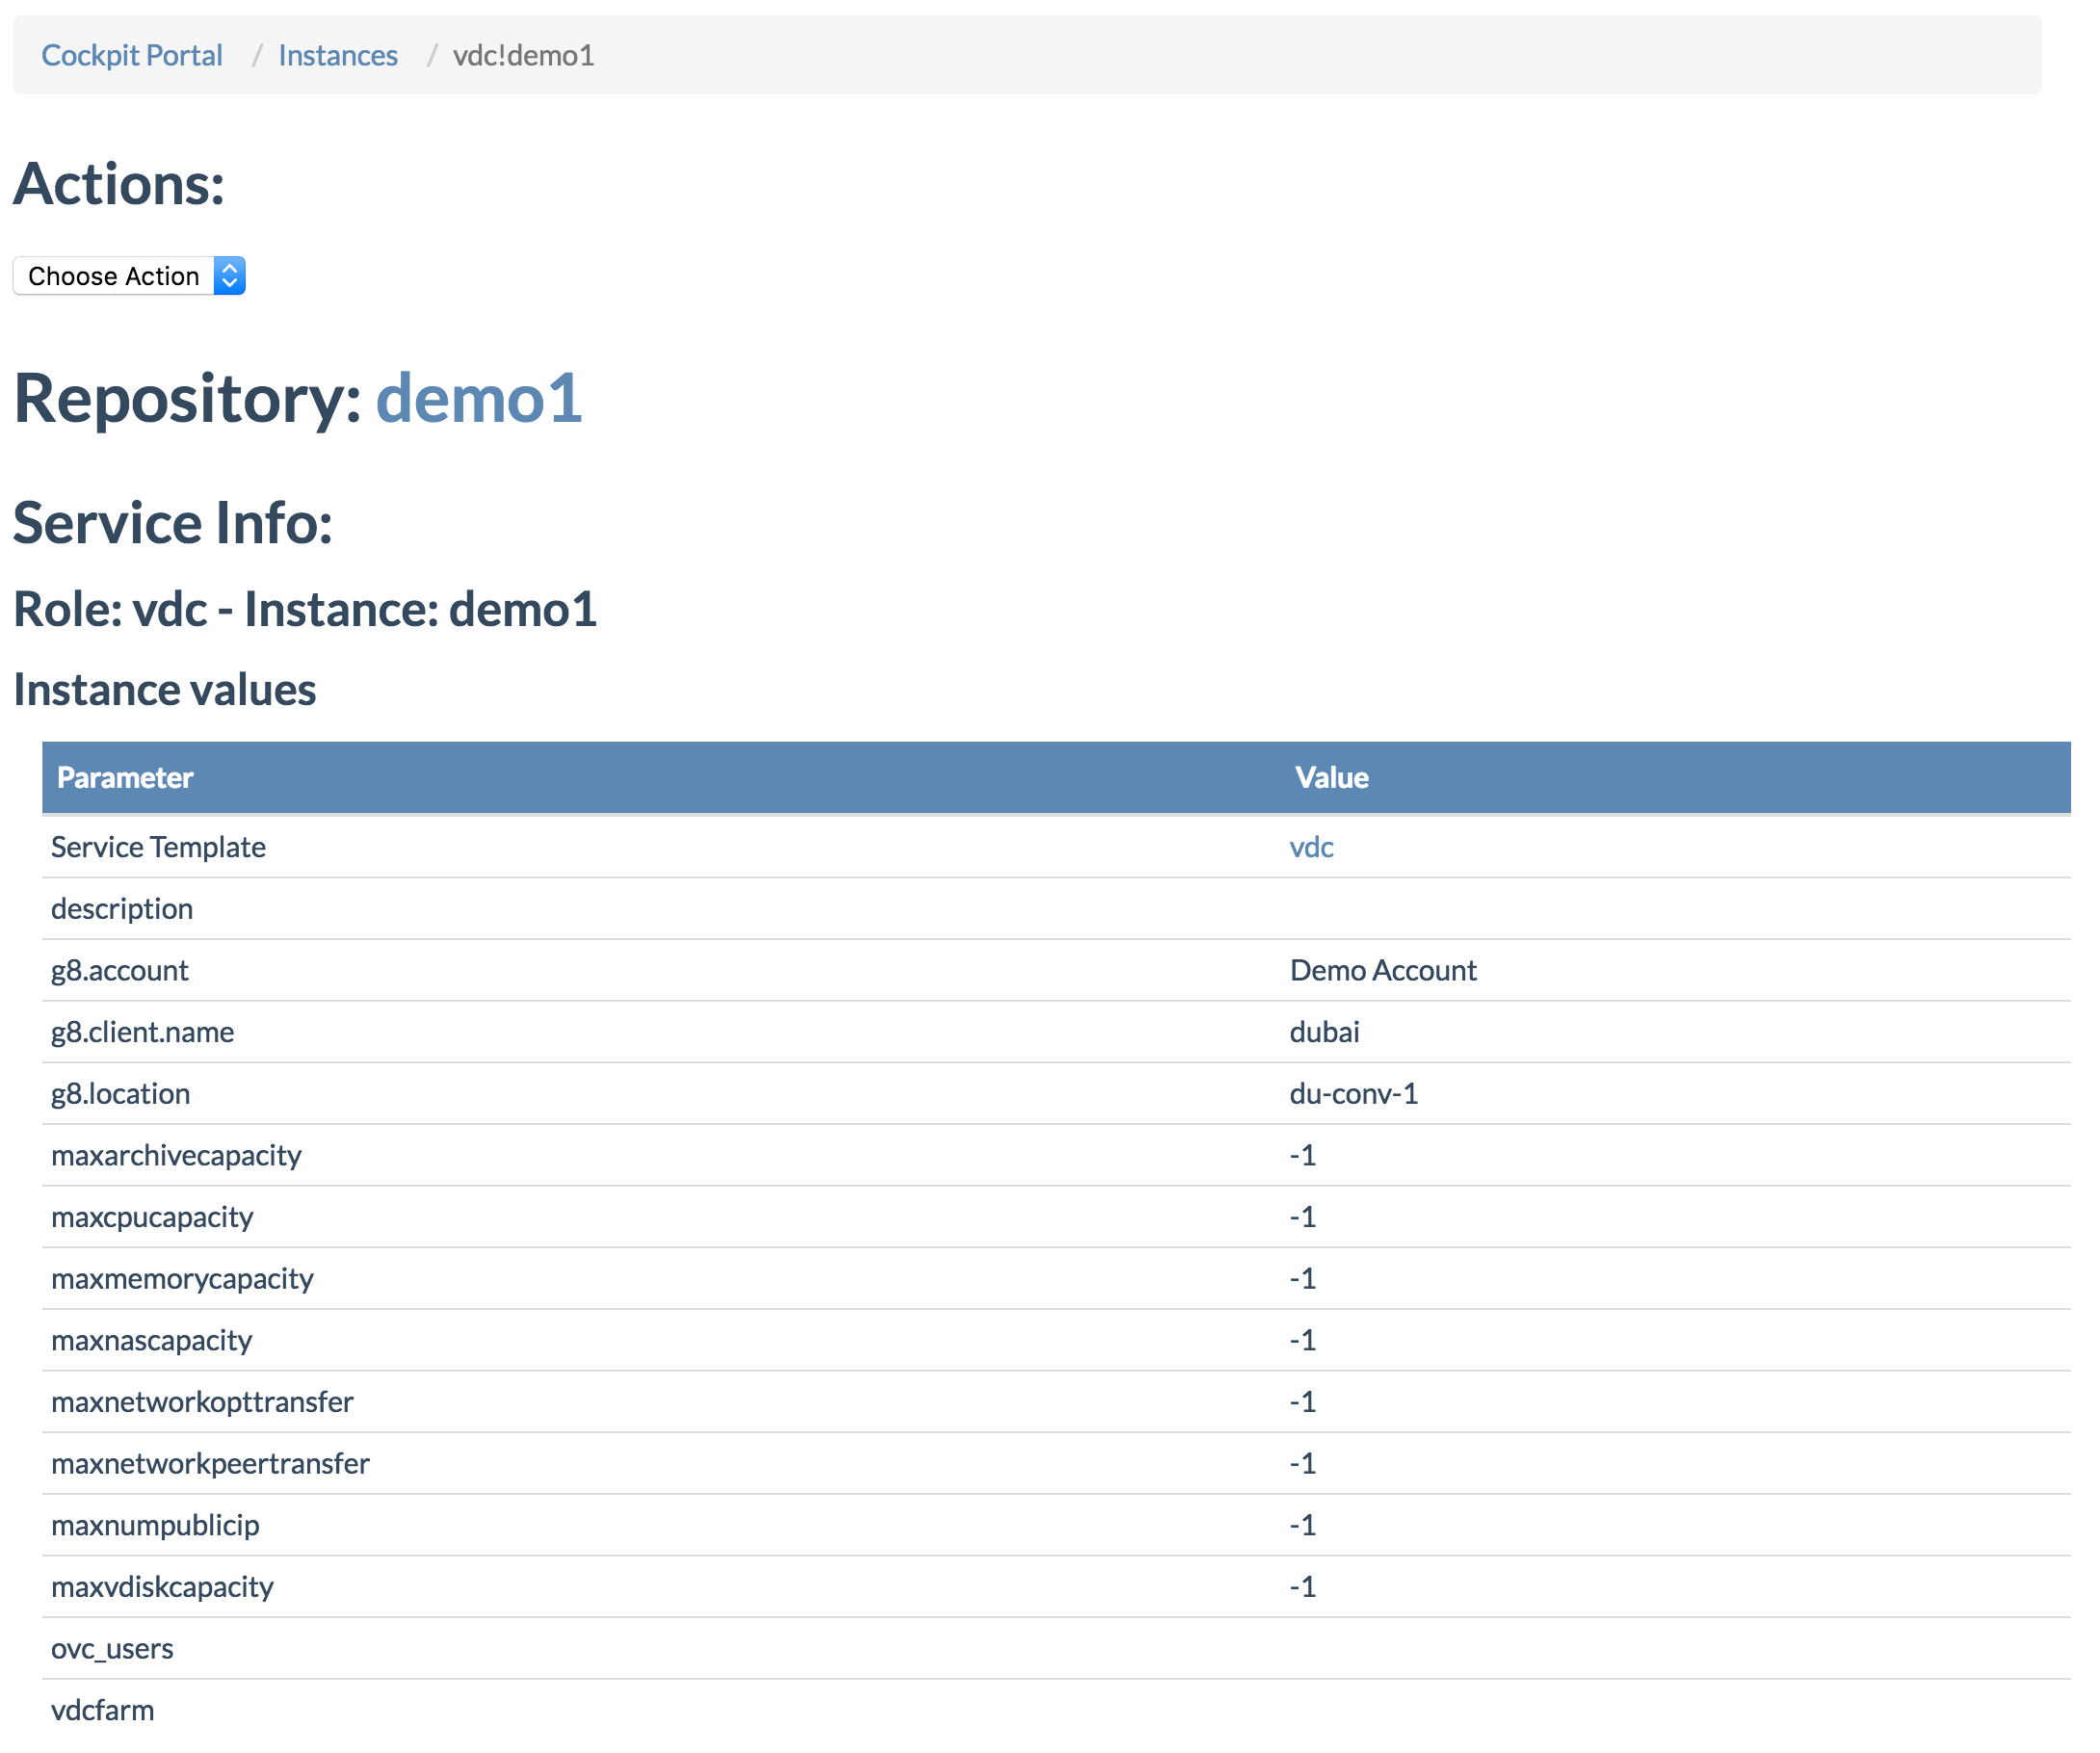
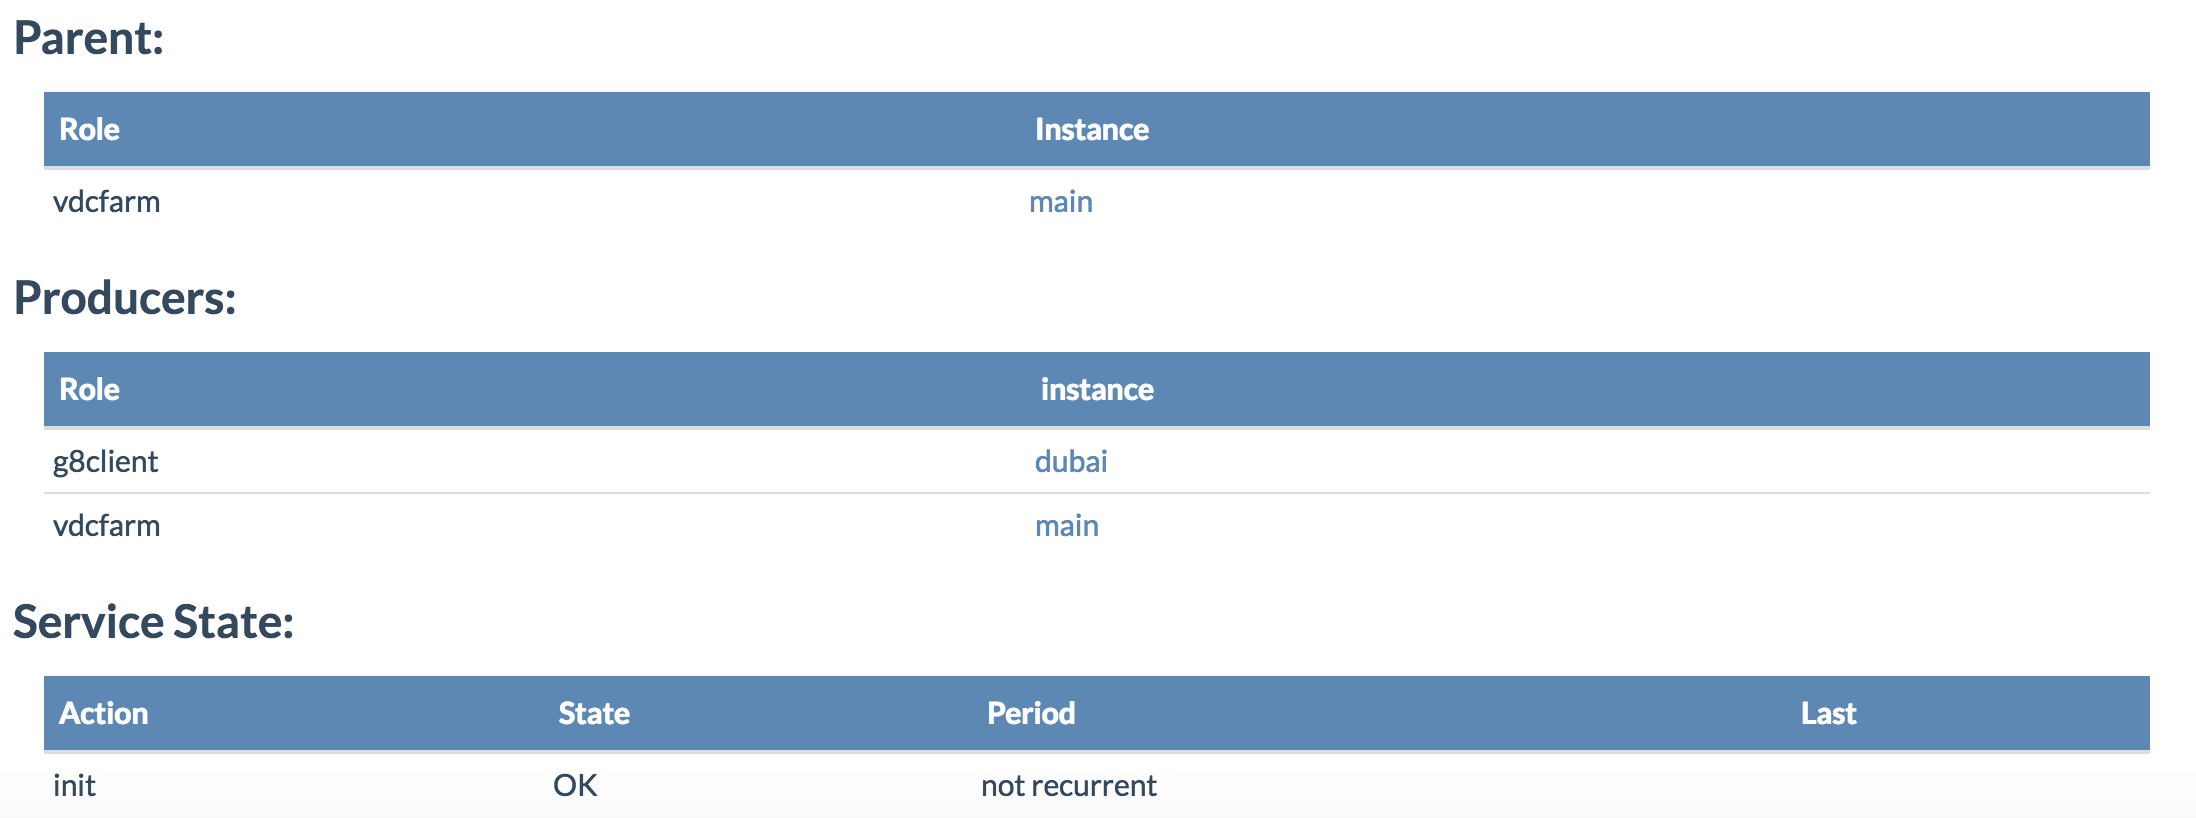
As you see in the Service State section the vdc instance demo1 is currently in the init state, so actually not got really installed yet.
Step 5: Make sure the service instances are created
To be sure that the blueprint executed properly go back to the Repository Details page of your repository and click the Instances link:

The Instances page shows you all the service instances in your newly created repository. Clicking an instance will bring you to the Instance Details page of that service instance.
From here you can either
- First simulate the installation of the service instances, see step 6
- Or immediately install the service instances, see step 7
Step 6: Simulate installation
Before installing the services, we want to simulate the installation in order to make sure the services will behave as we want without having to actually install the services.
Back on the Repository Details of your repository click the Simulator link. The simulator lets you preview which actions will happen without actually executing them. Fill out the form like shown in the below screenshot:
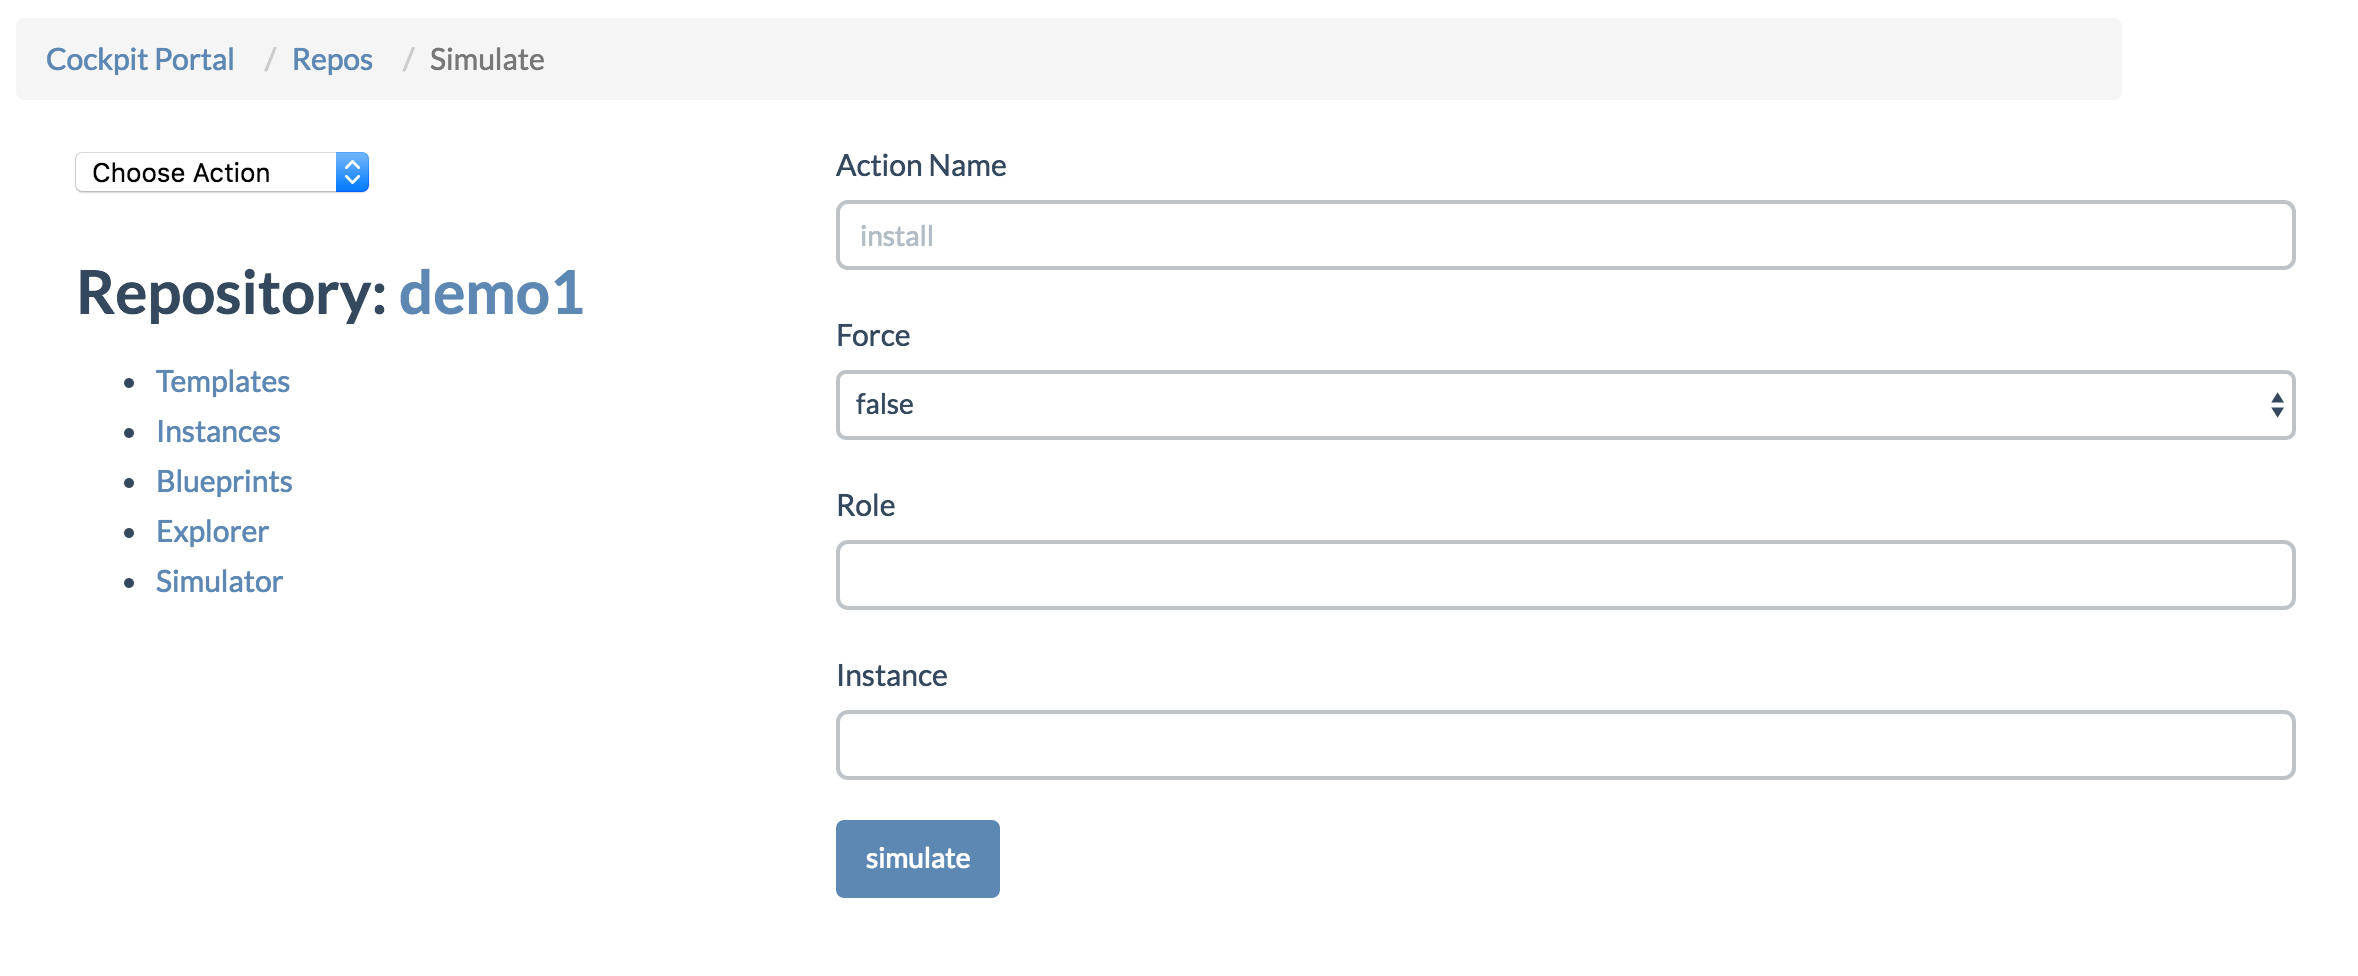
Here we want to simulate the install action and don't want to specify a specific service role or instance. This means all services in the repository will be installed. Click the Simulate button in order to see the result of the simulation.
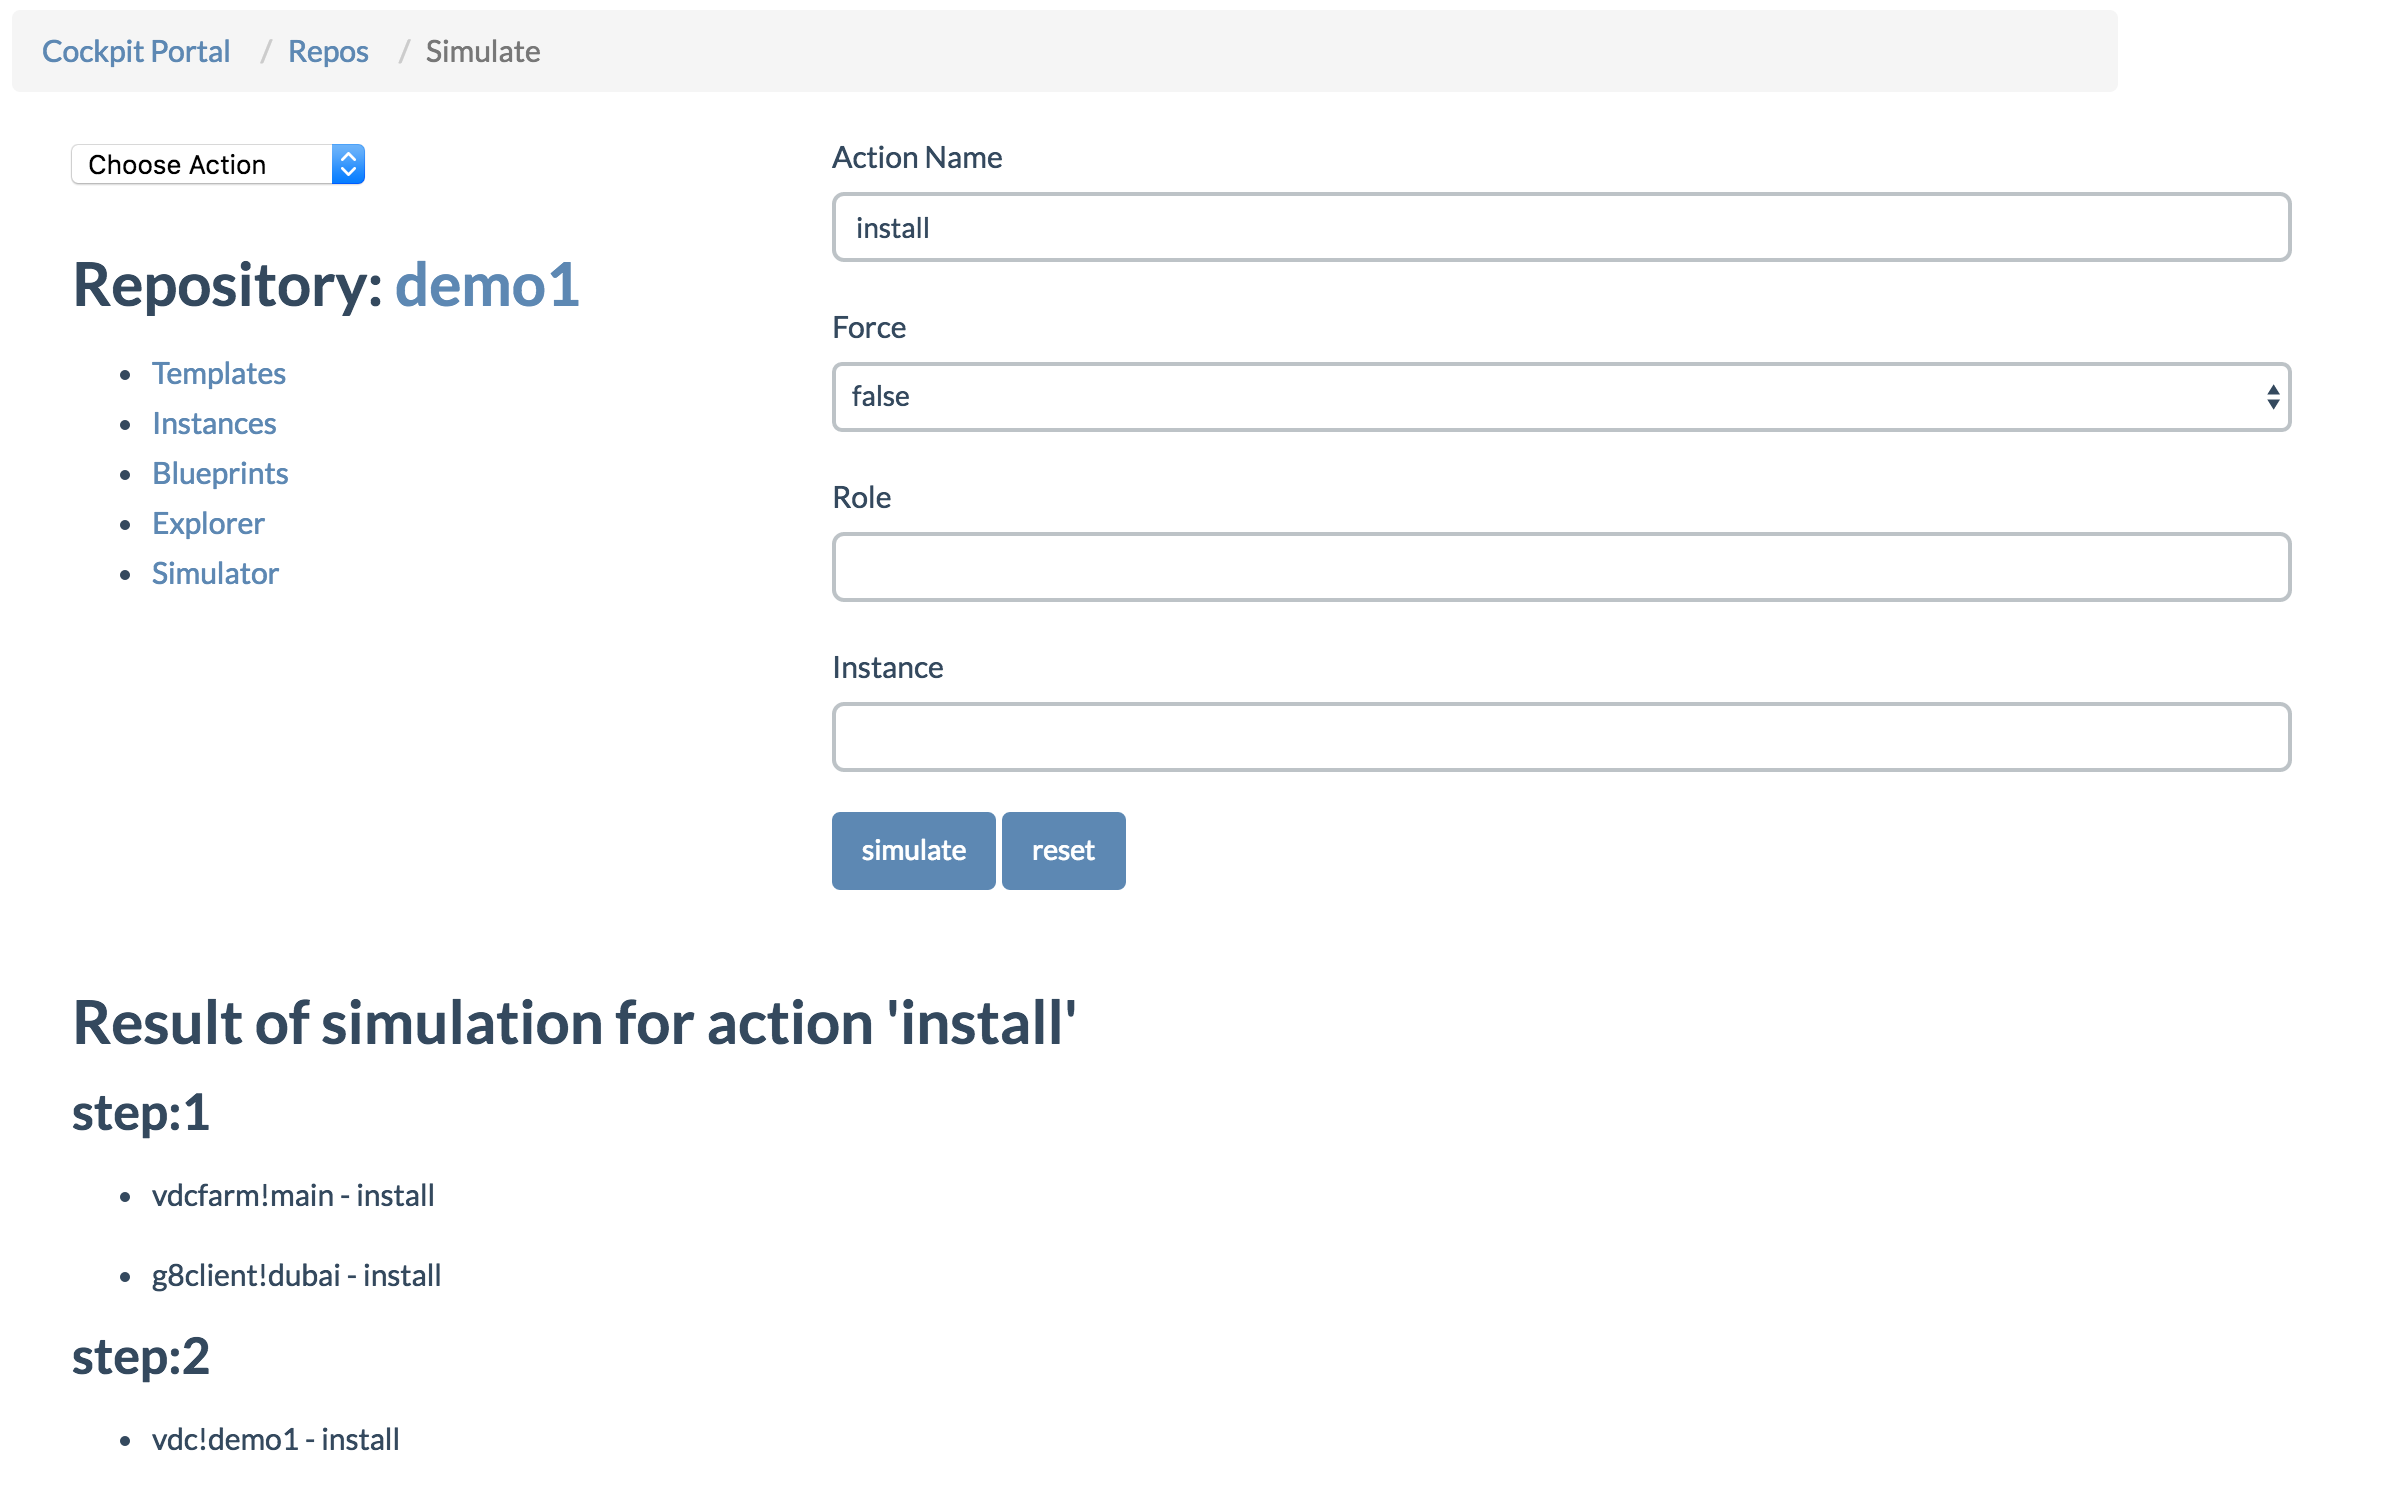
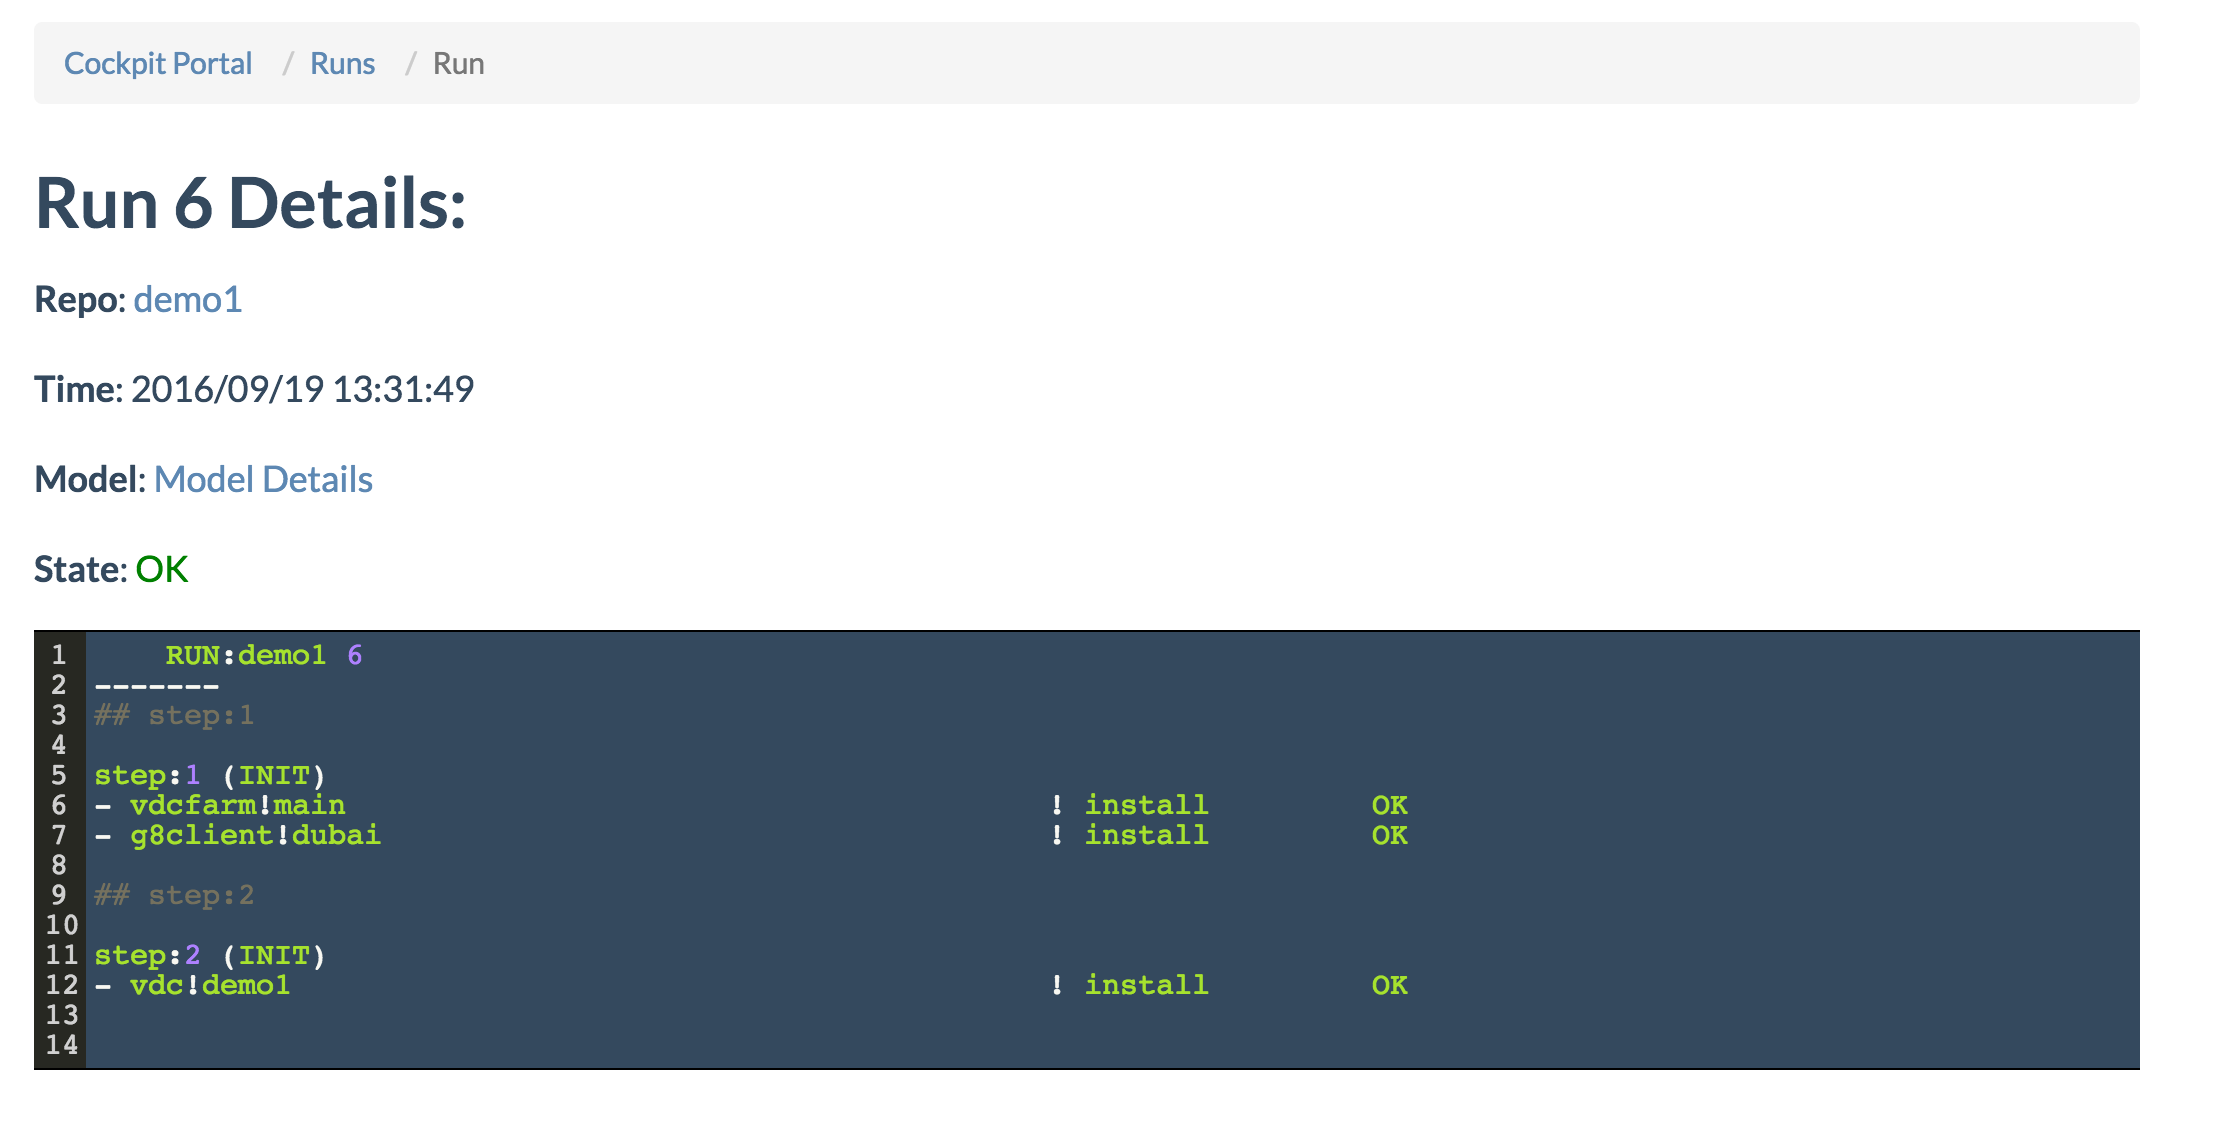
We see that the installation will be executed in two steps. First the vdcfarm!main and g8client!dubai services will be installed, then the vdc!demo1. These two steps are due to the fact that the vdc!demo1 depends on the g8client!dubai and vdcfarm!main.
Step 7: Installing the services
Now that we are confident with the installation steps, we can actually do the installation.
To do that select the Install from the action drop-down list on the Repository Details page:
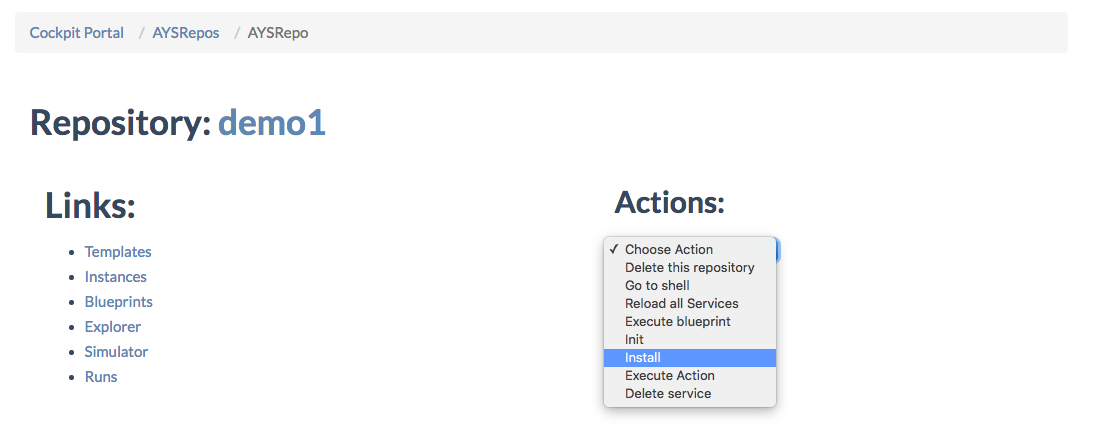
Like before a popup form will appear:
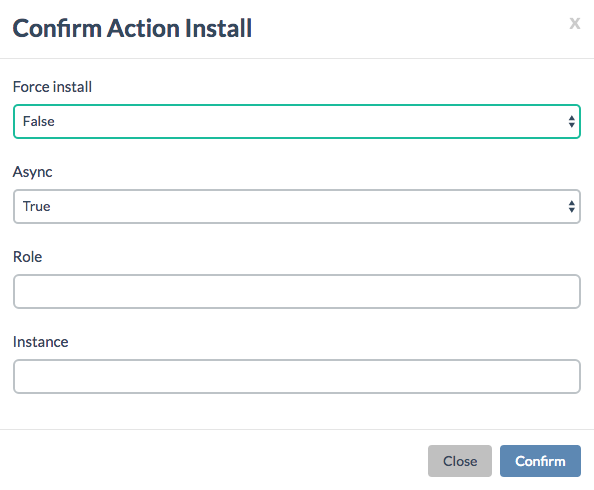
Keep the default values and click Confirm.
A message will tell you that the installation was scheduled:

You can verify the installation by clicking Runs on the Repository Details page:
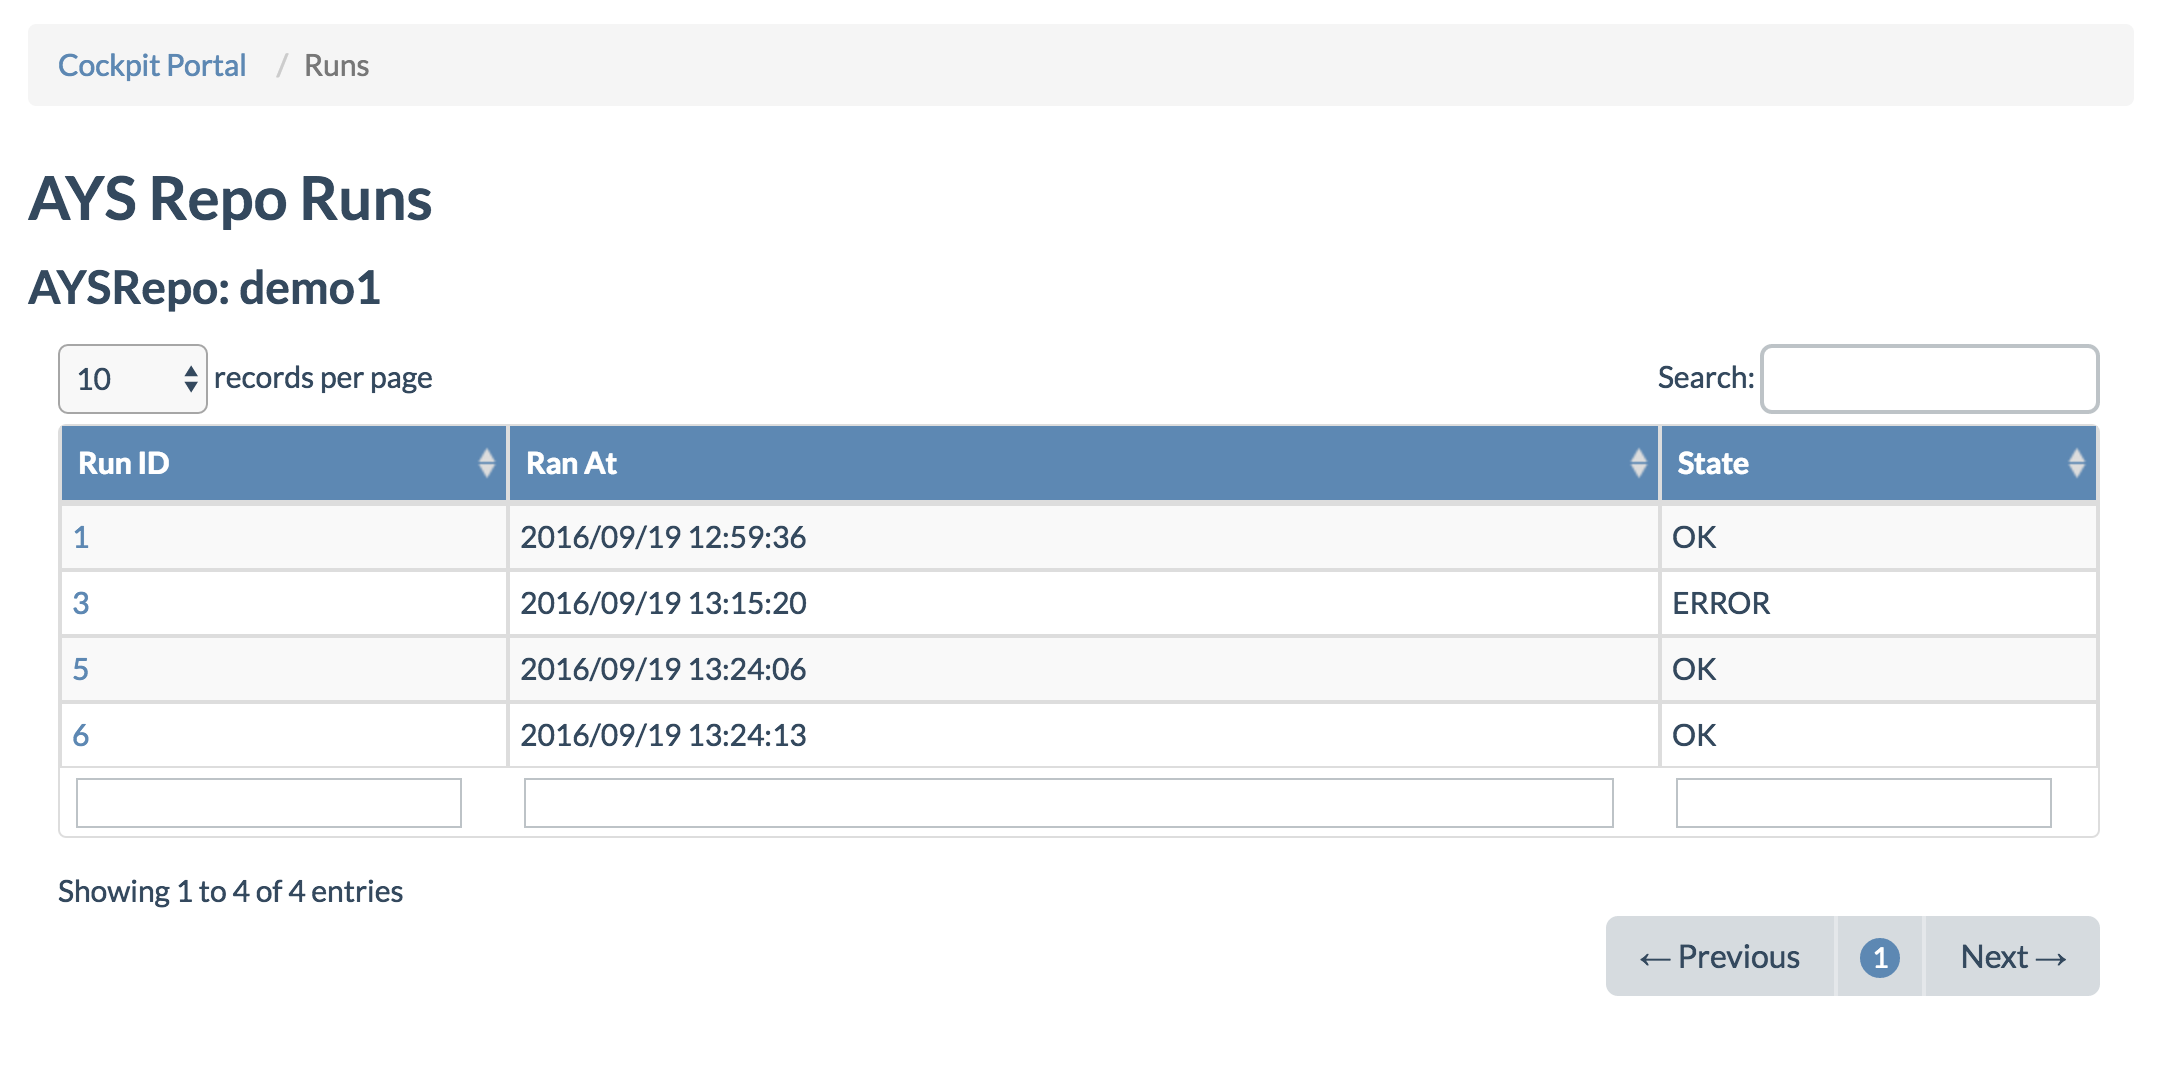
Clicking the last entry brings you to the Run Details page:
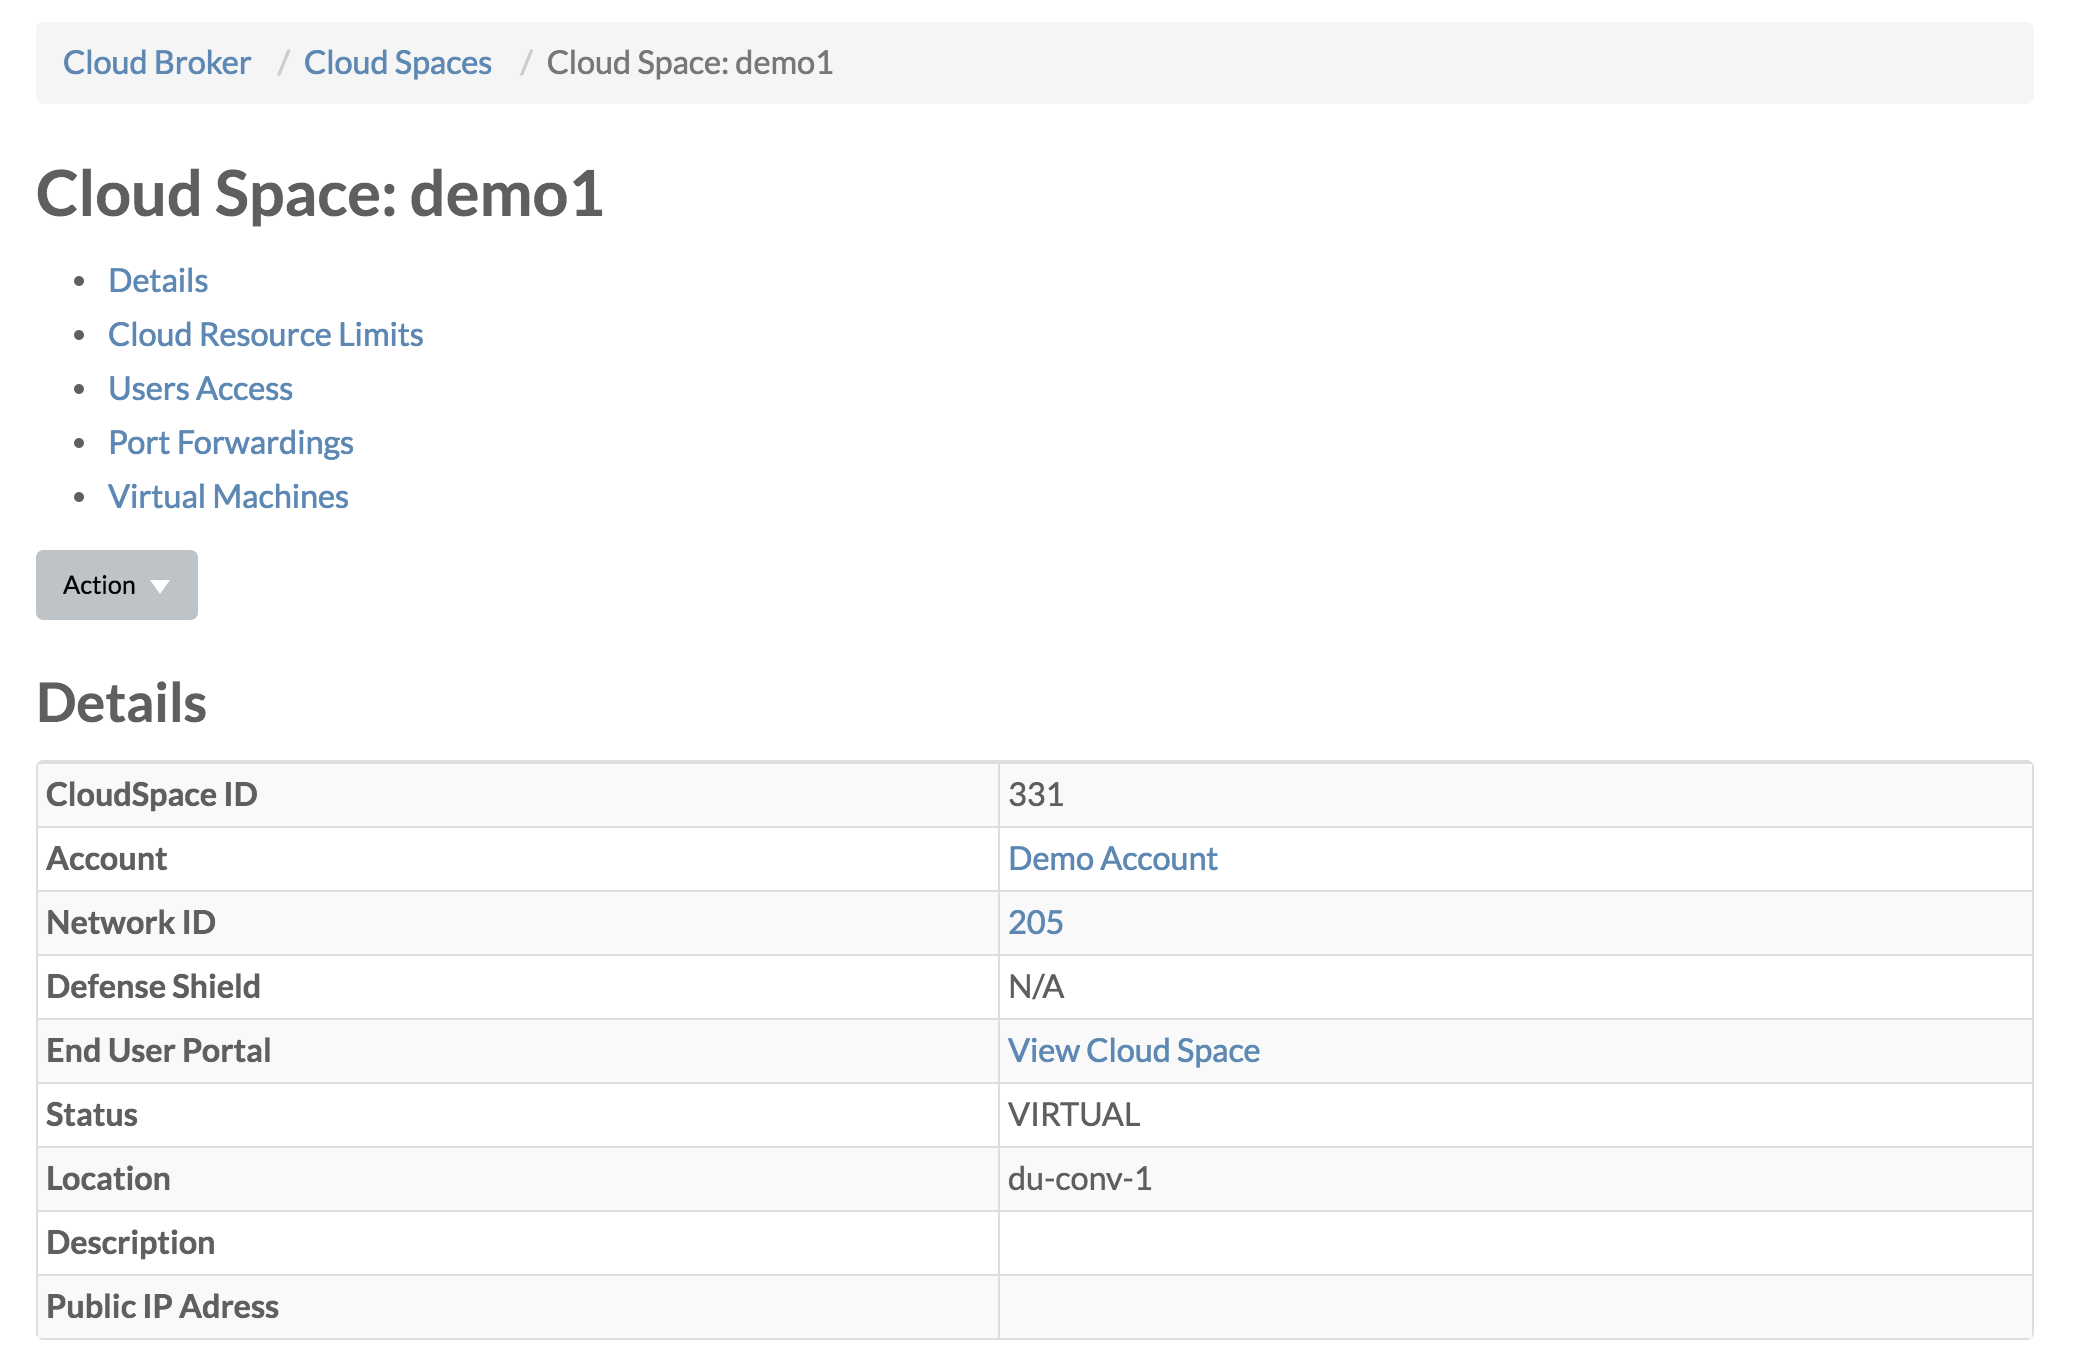
In this case demo1 will have been installed as you will also see in the Cloud Broker Portal:
Congratulations
You have just deployed a new VDC from your Cockpit Portal using AYS.
You can go have a look in the Instances page to check the state of your services and see that the install method has now a state OK: