Create a Cloud Space
This is optional, and the below steps require access to the Cloud Broker Portal. In case you don't have access to the Cloud Broker Portal, simply skip this step, and allow the installation (through AYS or Telegram) create a new cloud space or use an existing cloud space.
The Cockpit will run in a virtual machine that is part of a cloud space. This cloud space can be an existing cloud space, or a new cloud space will be created.
Creating the cloud space upfront gives you the advantage that you can assert that your cloud space gets a public IP address before continuing with the installation.
When creating a new cloud space through the it is highly recommended not to use any capital letters, since uppercases will be ignored/converted to lowercases
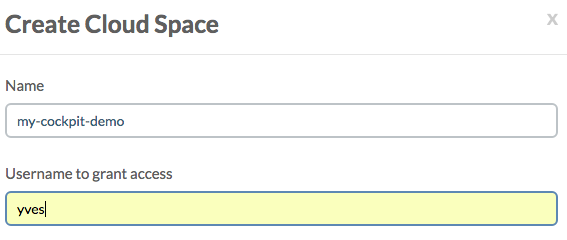
- Creating a new cloud space with the Cloud Broker Portal:

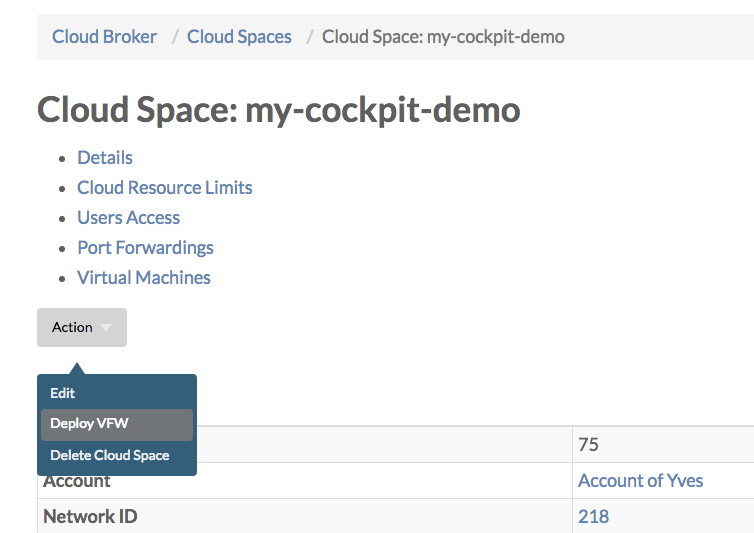
- Deploy the virtual firewall in order to get a free public address assigned to the cloud space:

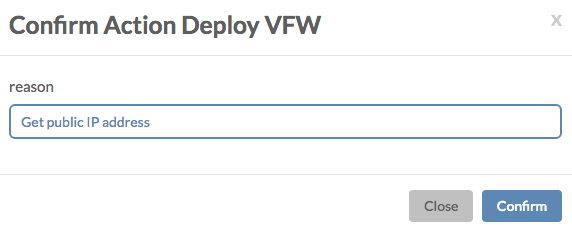
- Specify a reason why you want to deploy the virtual firewall and click Confirm:

You will specify the name of the cloud space when asked for the name of the Cockpit during the installation, which is a little confusing since the name you specify will both be used as the name of the Cockpit and the name of the cloud space where the virtual machine hosting the Cockpit will be created during the installation.
As noted above it is important not to use any capitals in the name of the cloud space, since you might otherwise end-up with the creation another cloud space with the exact same name, but then all in lower cases.