Cockpit
A running Cockpit is required in order to have blueprints getting deployed on a G8 system.
Follow the installation steps as documented here: https://gig.gitbooks.io/cockpit/content/docs/jscockpit/installation.html
Documentation sources are in the Cockpit code repository: https://github.com/Jumpscale/jscockpit/tree/master/docs
For the Moehaha.com WHMCS reference implementation we used the chatbot option to install the Cockpit.
After adding @g8cockpitbot you are invited to click the Start button:

Remember that you can restart at any moment, using the '/start' command:

You'll get this anser, asking you to specify the name of your organization:

Here you enter the name of your organization as already created in ItsYou.online, in our case that is 'Moehaha'.
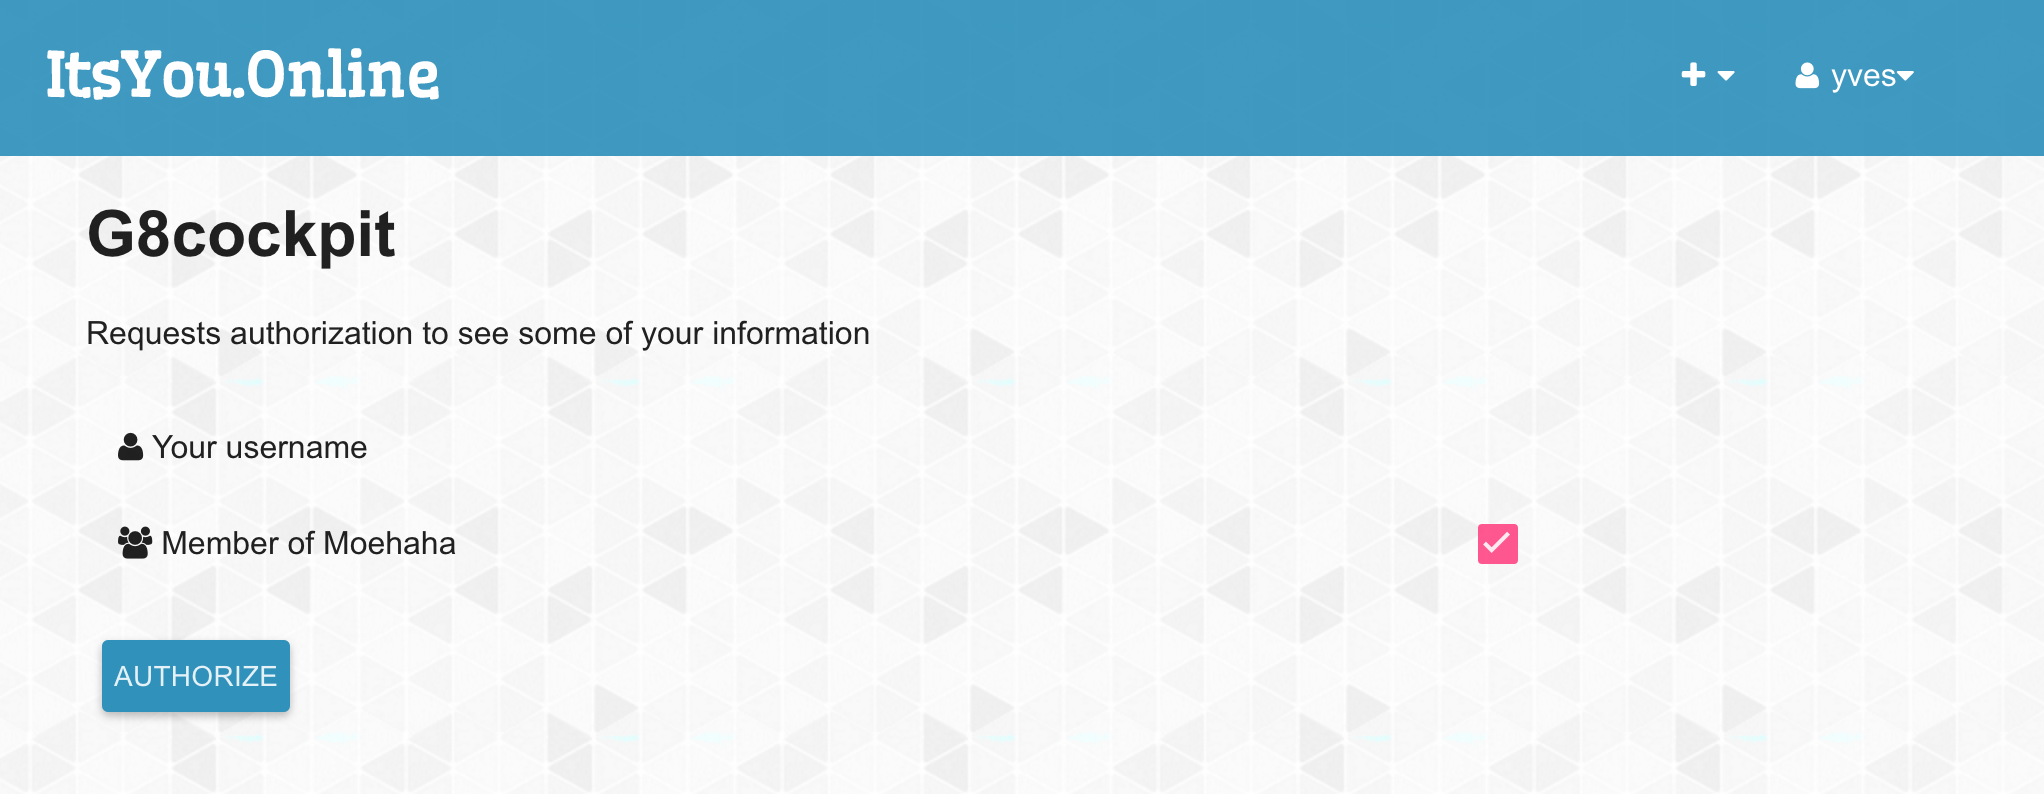
The chatbot will then invite you to click a link bringing you to ItsYou.online where you are requested to authorize the bot to check that you are part of this organization.

Here you autorized the chatbot to check your membership to the organization:
Once successfully checked that you are a member/owner of this organization, the chatbot invites you to specify the address of G8 operator node where you wish to deploy the Cockpit:
In the case of the Moehaha.com WHMCS reference implementation that is be-scale-3.demo.greenitglobe.com:

You will be requested to enter your username and password for this G8 operator node:


Then you are requested to select one of your (cloud) accounts on the G8 operator node where the Cockpit will be deployed:

Next the chatbot will invite you to talk to @botfather, another chatbot, that will create a new chatbot dedicated to your Cockpit:

In our case we name it Moehaha (Moehaha_bot):

@botfather will also provide you with an API token for your new chatbot, copy/paste it in your conversation with @g8cockpitbot.
Once you handed over the API token, you are invited to select one of your existing virtual datacenters (cloud spaces) where the Cockpit can be deployed. Here you can aslo specify a name for a new datacenter, that then will be created for you.
As a final step before actually deploying the Cockpit in the virtual datacenter you have chosen, you are asked to specify a unique domain name for your Cockpit:

For the Moehaha.com WHMCS reference implementation we specified "moehaha" as the domain. At this point the actual deployment starts, which will take a while, during wich you can check the status with the '/status' command.

Once all is finished you get a confirmation:
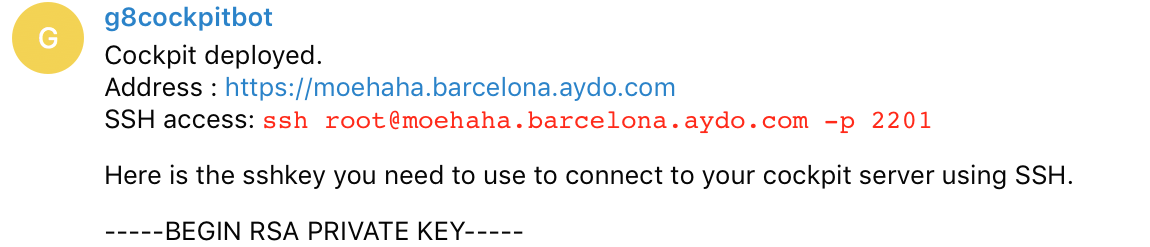
From here you can visit the Cockpit Portal on the specified address, in our case that is https://moehaha.barcelona.aydo.com:
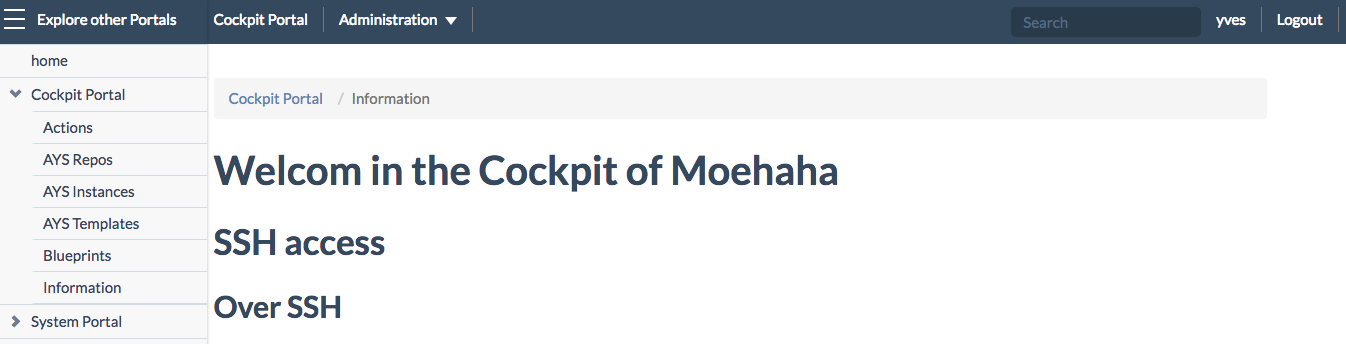
As part of the Products Configuration you will have the specify the Cockpit API URL in the blueprint. This value can be found on the Information page of the Cockpit Portal.
For the Moehaha.com WHMCS reference implementation this is: https://moehaha.barcelona.aydo.com/api
Next
Next you will want to install the Cockpit Add-on module and configure the products.